


Introduction
At Welcm, Friday afternoons are normally personal project time. It’s something our developers enjoy, it keeps the creative juices flowing and we’ve also ended up with a few tools that we now use on a daily basis. Our automated tea round notification system, “It’s Your Turn”, is my personal favourite.
After Laracon Online 2019, which took place on March 6th, we decided we’d dedicate a couple of our Fridays to a project loosely based on one of the talks. The talk by Jason McCreary (@gonedark) about writing less complex, more readable code went down particularly well here so that was the one we chose. We wanted to see whether we could deliver a web app in under 48 hours if we followed Jason’s advice. Of course there were a couple of rules to make it more interesting and challenging.
We came up with a few ideas first and then settled on Brexchange Rate… a bit of fun that lets you check barter exchange rates in a post-Brexit UK with a barter-based economy. Requirements and creating a spec were carried out as normal but coding was done differently.
Each developer involved would work by themselves, one after the other, carrying on directly from where the previous developer finished. Documentation, code comments and overly verbose commit notes were not allowed and there would be no handovers from one developer to the next. In other words, each developer had to rely that the previous developer had written their code according to Jason’s advice. All that was allowed was ticking off tasks from the Trello board we put together whilst creating the product specification.
So now we've looked at why we did it, let's look at how we did it.
N.B. At this point we'd spent about 15 minutes discussing the plan with the team.
Step 1: Decide on functionality and pages
Now we knew the general idea of the project, we needed to work out the specific requirements for this site, so we distilled it down to these four essential elements:
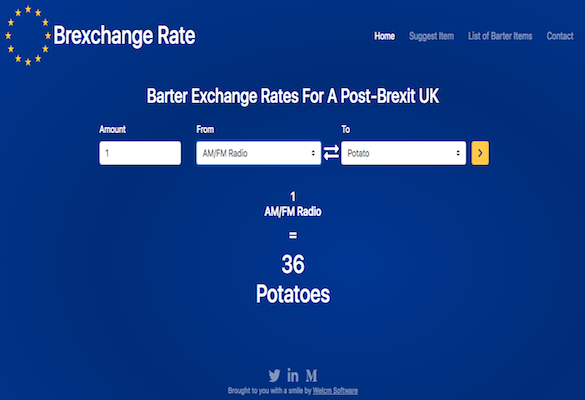
- The home page will contain an "Amount" input, "From" and "To" input dropdowns, and it will perform calculations on the inputs and then display the converted amount for the user.
- There will be four front end pages (plus a secret page ?️♀️) these are:
- Home page
- Suggest an Item
- List of Barter Items
- Contact
Suggest an Item and Contact both contain forms that send us emails (see our article on contact forms in Laravel).
3. There must be a secure admin area where items, their value and description can be created, read, updated and deleted.
4. The site must be fast, scalable and responsive.
Having a chat with the team and sketching out a few ideas took just over an hour, which meant..
Time spent so far: 1 hour 25 minutes.
Step 2: Set up domains, hosting and infrastructure
The first task when starting any new project is to create the Git repository ready to check our code into.
We had already settled on the name Brexchange Rate, and luckily brexchangerate.co.uk and brexchangerate.uk were available, so we registered these.
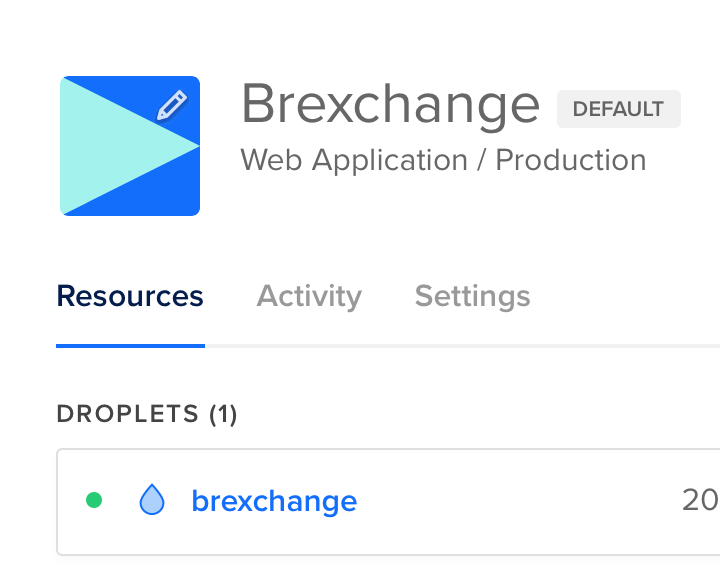
We decided on Digital Ocean for hosting as their system makes it very easy to get up and running on scalable architecture. We spun up a standard basic droplet and got to work configuring it ready for a Laravel project with database.
We went through the usual process of adding an SSH key to improve security over standard password logins, added a new user and removed login rights for the root user.
Next we installed and configured Nginx, PHP, MySQL, Git and Composer, so the server was almost ready to go.
Next we needed to point our domains at the host, so we could set up https by creating SSL certificates (using Let's Encrypt). Then we dropped a temporary holding page on the server to show everything was up and running.
Finally as we required contact forms we added the domain to Mailgun and made the necessary additions to the MX and TXT records for the domain so email was ready to go.
As this was a quick "spare time" project we didn't go for anything fancy in terms of deployment tools, which meant there were quite a few steps to get the server production ready. However a lot of these tasks were done in odd moments, and totalled about 3 hours, which meant..
Time spent so far: 4 hours 25 minutes.
Step 3: Project build
We decided a standard Laravel project was the route to go for ease and speed of development (see our article on Laravel project structure) so we created our brexchangerate project and checked in the initial boilerplate code.
We needed a secure admin system so we used the Laravel auth scaffold to make all the necessary views, models and controllers.
Next we created the Items model and at the same time created a resource controller and route for it as we would be using all the standard resource methods. We then ran the database migrations.
With all this in place we were ready to start creating the admin system. This is essentially a list of Items that a logged in user can create, read, update or delete.
We decided to implement database caching to reduce the load on the SQL server as once the items and their properties were loaded it wasn't necessary to query the DB for them every time, so this was added to the admin and other page functions.
Now we needed to write the logic for listing the items on the front end and calculating the equivalent values of different items. This utilised a highly sophisticated machine learning algorithm was simply a matter of some basic maths and returning the result to the view.
Next we needed to create request objects, notifications and controllers for the contact form and item suggestions.
During this process we created some simple front end views and forms that displayed the information in a basic way whilst the UI was being developed separately.
The code development for a project like this is relatively simple but still needs to be written, tested, checked in and reviewed, so it took just over 5.5 hours. Meaning...
Time spent so far: 10 hours.
As part of our initial requirements conversation we decided on the overall look of the site… design guidelines really. We wanted the site to be clutter free, to the point, familiar and clearly related to the EU / Brexit. In terms of content we wanted it to be fun and engaging. Something that would make visitors to the site smile and spend a few minutes with us.
We’d decided on the pages we were going to have so the first thing we did content-wise was start putting together a list of barter items and short descriptions of the items. This was good fun and gave those of us involved in content writing the chance to browse some prepper websites which made for some pretty entertaining reading. For those of you who don’t know, a “prepper" is a person who believes a catastrophic disaster or emergency is likely to occur in the future and makes active preparations for it.
Once we’d written the necessary content we started work on the UI which we created using Bootstrap and a little custom CSS. You can check out our article on setting up a Bootstrap project to see how to go about that. Using Bootstrap enables us to create responsive, mobile-first websites and web apps much more quickly than it would otherwise be.
To follow the guideline of making the site clearly related to the EU / Brexit we decided to use the two colours from the EU flag as the core colours on the site. We also used the stars from the flag as the logo to sit in the top left of the site… the navbar-brand in Bootstrap speak.
Two of the pages were essentially contact forms - the suggest an item page and the contact page itself. You can check out our article about building a contact form for your website to see how we went about doing that.
As we wanted the site to be to the point we made the conversion tool front and centre on the homepage of the site. We wanted it to be what greeted visitors to the site. It was really a pretty simple tool incorporating a form, a couple of Font Awesome icons and a button. You can find out about using buttons in Bootstrap in another of our articles.
Once the front end was complete it was over to the back end team to integrate the UI elements into the views in the Laravel project.
The UI design and implementation including time allowed for reviewing and took around 5 hours, so...
Time spent so far: 15 hours.
Step 4: Prepare for launch
We set up a Google Analytics property and added the tracking code to the site template, and also added the site to Search Console.
We made sure all pages had appropriate meta data and added twitter and open graph data so any shares on social networks would display how we wanted.
Finally we added a treasure trail clue to a secret page for nerds like us to find, see if you can find it! ?
We were ready to deploy to live site, we cloned the project to the live server and made sure the dot env file was updated for production with the correct database details and Mailgun credentials.
Finally we ran the artisan commands to cache the routes and config to improve site speed.
The very last task to do was:

This went went smoothly, which meant when added to the other launch preparation tasks:
Time spent in total: 19 hours.
Conclusion:
Even though the project brief was pretty simple, we were pleased by how quickly the project was able to progress through all its stages, and after the initial briefing meeting, tasks were able to be picked up and continued by the team with no disruptions.
Whilst this project was just a bit of fun it did have a serious point to it and it was a great success. The site was built and deployed well within our target time and has put a smile on many faces. A big thank you goes out to everyone who has visited Brexchange Rate and suggested new barter items.