What is Wink?
Wink is a free, open-source publishing platform built to run on any new or existing Laravel project. It comes with a clean and efficient admin panel and a familiar feeling WYSIWYG editor for creating content, but then how that content is displayed is entirely up to you. Think of the simplicity of Medium but with the control and customisation options of your own bespoke website.
Wink installs as a Laravel package and by default uses its own database connection and authentication system, so it can be added to an existing project without the need to modify an existing project.
Wink is in the early stages of development and is being actively worked on by its developer Mohamed Said but already comes with a good selection of features, including:
- Support for multiple authors
- Post creation
- Page creation
- Tags
- Featured images
- Social metadata for Facebook and Twitter
What Wink is not:
Wink isn’t for complete novices, you should be familiar with the Laravel ecosystem, installing and configuring packages and deploying projects.
Wink isn’t a direct Wordpress or other CMS replacement — currently there are no themes or layouts for how the content is displayed to your site visitors, so getting a finished site up and running will take a bit more work.
Wink isn’t for people who want to only use mature versions of software, it’s in early and active development so be prepared for occasional changes and updates.
Getting started with Wink
Prerequisites
We’ll assume you have a fairly up-to-date environment and Laravel version for this tutorial. As Laravel updates are always bringing new features and improvements, we recommend going for the latest and greatest version.
So you’ll need:
- Laravel 5.7 (at time of writing)
- PHP 7.1.3+
- Database (MySQL, PostgreSQL, SQLite, or SQL Server)
- A Laravel project — create a new one or use an existing project
Once you have your Laravel project, install Wink using the following composer command:
composer require writingink/wink
Once composer is finished, install Wink by running:
php artisan wink:install
Check that you now have a config/wink.php file and take a look at the options.
You’ll see from ‘database_connection’ => env(‘WINK_DB_CONNECTION’, ‘wink’) that Wink by default uses its own database connection, this is to avoid interfering with an existing project’s database.
You can either use an existing database connection or create a new connection by updating your config/databases.php file to add ‘mysqlforwink’ => [ … ]in ‘connections’ => [ … ]. Make sure if you reference any custom properties in your .env file that they are correct.
In config/wink.php you can also change the storage disk for file uploads and also the path from which you access the admin panel, the default is “yourproject.test/wink”.
Once you are happy with the configuration, run:
php artisan wink:migrate
This will create the necessary database structure, the tables Wink creates are as follows:
| migrations |
| wink_authors |
| wink_pages |
| wink_posts |
| wink_posts_tags |
| wink_tags |
If this is successful you should see the following:
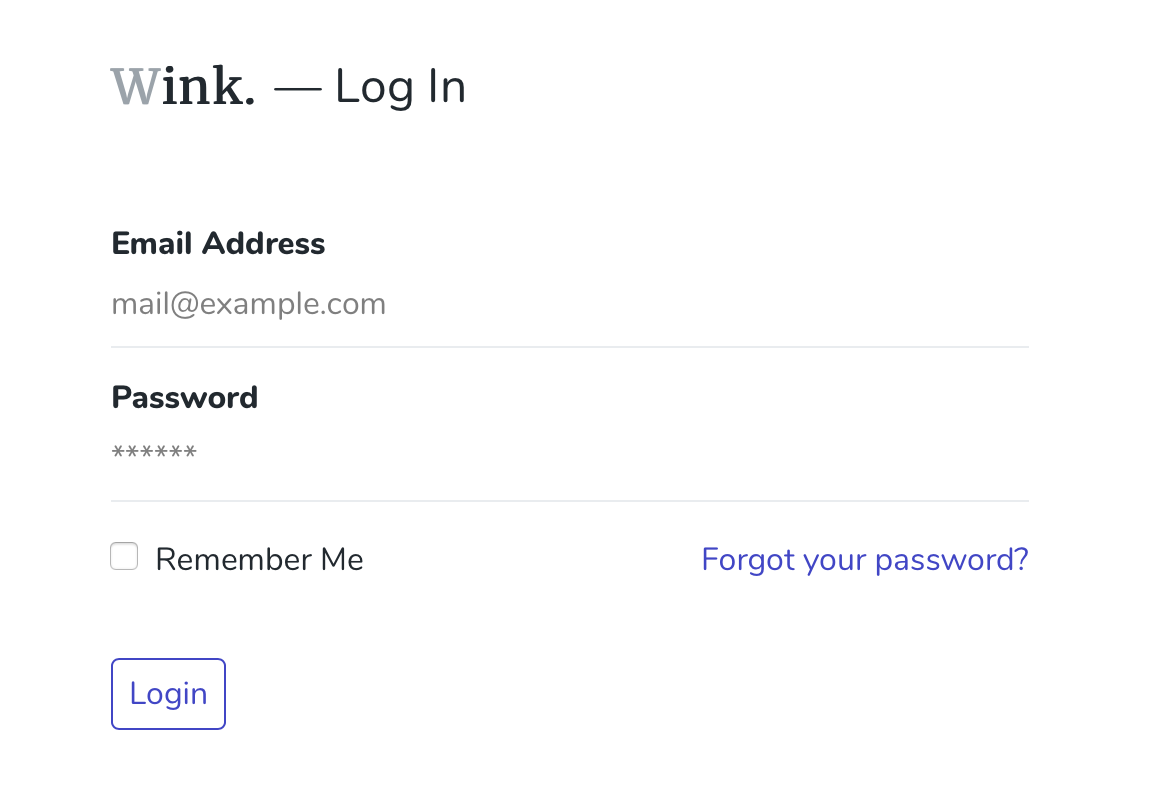
Take note of the username and password and navigate to “yourproject.test/wink” (or whatever you set the suffix to in config/wink.php) and you should see this screen:
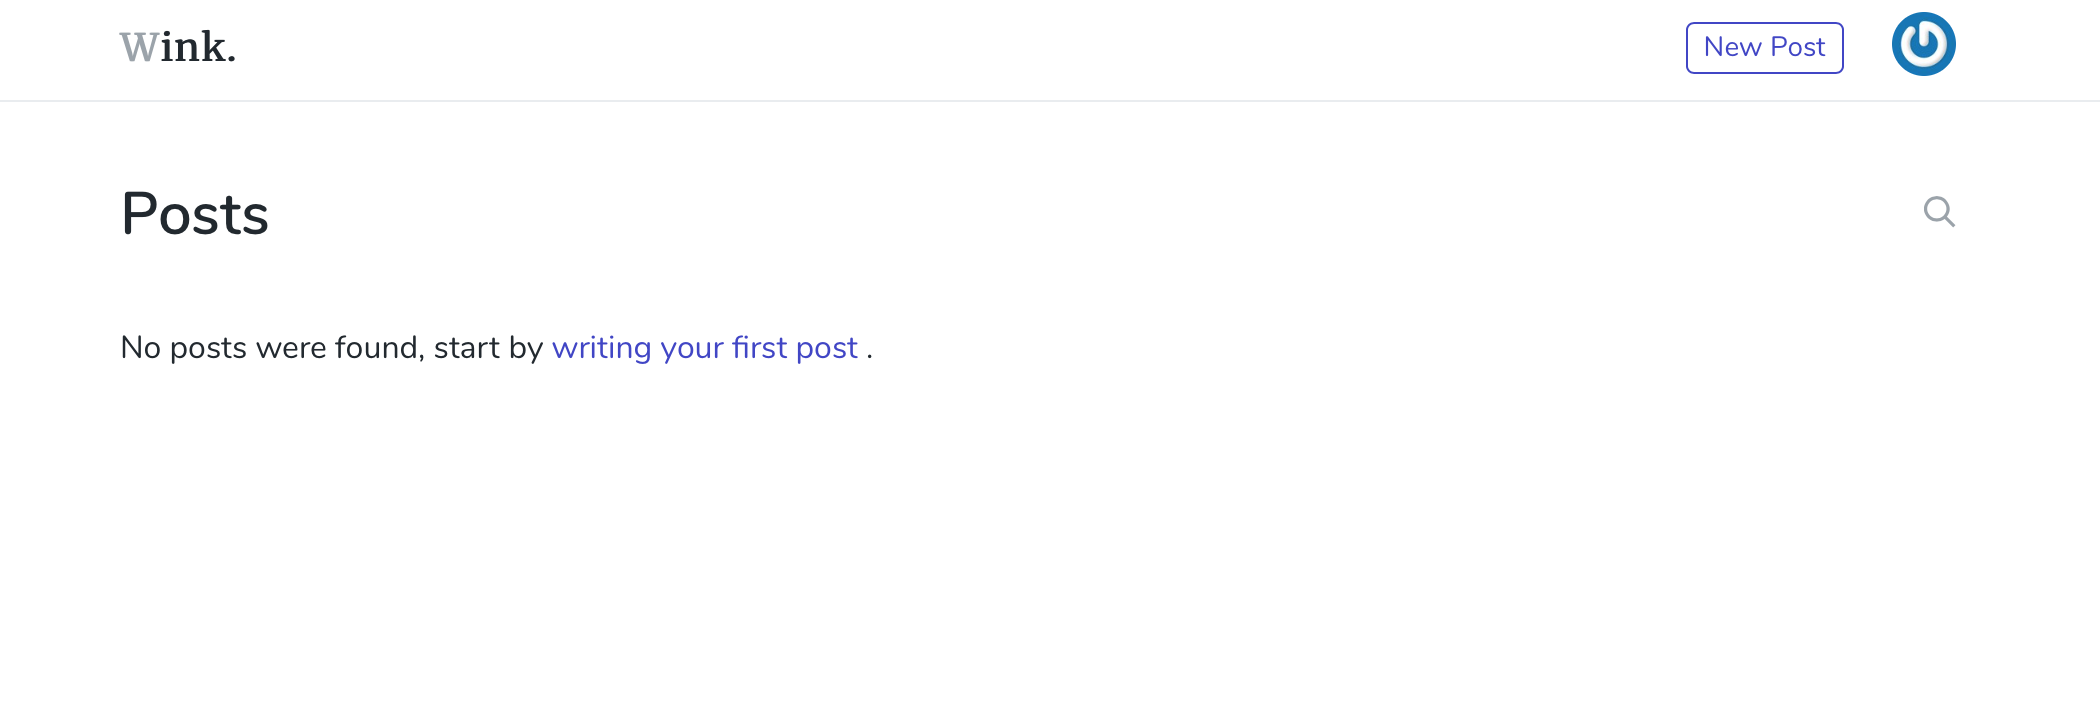
Use the details provided to log in to the admin panel.
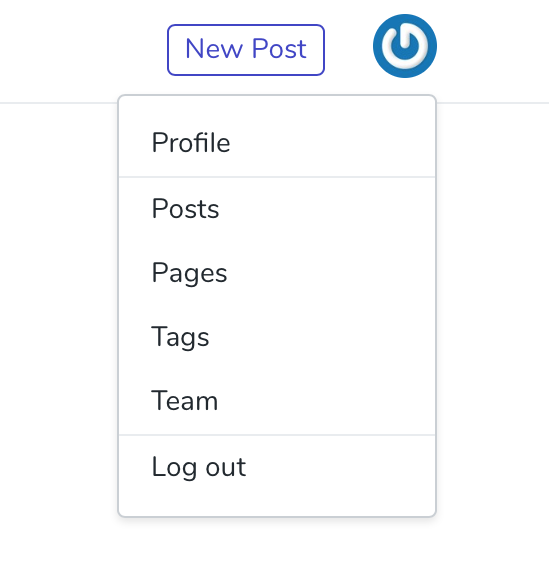
The admin panel is pretty self explanatory and easy to use so go ahead and update your profile, add team members, create tags, pages and posts! You can set SEO friendly slugs from each page or posts’s settings.
Blog posts can be formatted using the bubble menu which will be very familiar to Medium users.
So the next step will be to display these posts on your website, we’ll give you the basics then it’s up to you to decide how to format the posts and what information you want to display.
Controller code
Create a BlogController.php and add the following:
use Wink\WinkPost;

public function index()
  {
      $posts = WinkPost::with('tags')
          ->live()
          ->orderBy('publish_date', 'DESC')
          ->simplePaginate(12);
      return view('blog.index', [
          'posts' => $posts,
      ]);
  }
This will get all live posts with their associated tags, sort them in descending publication date order, and display up to 12 per page if you add pagination controls to your blade file.
To display an individual post by its slug name, add the following to the controller file:
public function show ($slug)
  {
    $post = WinkPost::live()->whereSlug($slug)->firstOrFail();

    return view('post.index', [
          'post' => $post
    ]);
  }
This will get the post by its slug, and return the post view with the post content, otherwise return a 404 error.
Blade code
In your Views folder, create a Blog folder with an index.blade.php inside. If you’re using a framework for layout (see our Getting Started with Bootstrap 4 guide), set this up as required, then in the body of the page, add the following:
@foreach($posts as $post)
    <div>
      <a href="/blog/{{ $post->slug }}">
        <img src="{{ $post->featured_image }}">
      </a>
    </div>
    <div>
      <a href="/blog/{{ $post->slug }}">
        <h5>{{ $post->title }}</h5>
        <p>{{ $post->excerpt }}</p>
      </a>
    </div>
    <div>
      <small>Publication Date: {{ $post->publish_date }}</small>
    </div>
    <hr />
@endforeach
This will display a simple list of your posts with title, excerpt, image and publication date, all with links to the individual blog post.
Don’t forget to add {{ $posts->links() }} if you need pagination.
Next, create a Post folder, with an index.blade.php inside. In the body of the page, add:
<h1>{{ $post->title }}</h1>
<img src="{{ $post->featured_image }}">
<div> {!! $post->body !!} </div>
This will display the post content (note the {!! !!} tags around $post->body so the html is correctly rendered).
Routes code
In your routes/web.php file, add the following:
Route::get(‘/blog’, ‘BlogController@index’);
Route::get(‘blog/{slug}’, ‘BlogController@show’);
Now go to “yourproject.test/blog” to view your list of posts and click on an article to view the post content. Individual posts will be at “yourproject.test/blog/post-slug-name”.
Next feel free to customise the look to suit your website design.
Further things to do
How you now choose to display the posts is entirely up to you, you could add filtering by date, author, or tags, for example.
If you would like to add Medium style reading times, you can create a simple helper function along these lines to return reading time in minutes (this is a very basic implementation but it should give you the idea):
if (! function_exists('readingTime')) {
function readingTime($post) {
$word = str_word_count(strip_tags($post));
    $m = floor($word / 200);
$est = $m . ' minute' . ($m == 1 ? '' : 's');
    return $est;
  }
}
Then in your blade just call {{ readingTime($post->body) }} .
Conclusion
We hope this guide has been helpful and will encourage you to have a look at Wink as a solid option for a publishing platform that you can add to existing projects or new ones. We’re already fans here at Welcm Software (our own blog is using it!) and we're looking forward to seeing what Mohamed and Winks’s contributors add next.


