


Introduction:
When developing new websites and applications, getting useful debug information is essential for producing bug-free, efficient code. As projects increase in complexity the debugging requirements will also increase (see our article on debugging with Laravel’s built in tools for an overview of basic debugging options).
This is where Laravel Telescope comes in. The core team at Laravel have developed Telescope as a fully featured debug assistant for your Laravel projects. In this article we’ll look at how to install Telescope on your local or production environment and we’ll give an overview of its key features.
Installing Laravel Telescope:
Telescope is installed using composer, just require the package in the usual way:
composer require laravel/telescope
If you are only using Telescope in your local environment you can add the --dev flag as below:
composer require laravel/telescope --dev
You’ll then need to publish its assets and run a database migration using the following:
php artisan telescope:install
php artisan migrate
If you’re installing for local environments only, after running the above commands there are a couple extra steps: in /config/app.php remove the following line from the Application Service Providers… section:
App\Providers\TelescopeServiceProvider::class,
Then in your app/Providers/AppServiceProvider.php, add the following:
use App\Providers\TelescopeServiceProvider;
And in the register() method:
if ($this->app->isLocal()) {
$this->app->register(TelescopeServiceProvider::class);
}
If you are using Telescope in a production environment then by default only specified users will be able to access the Telescope dashboard. These can be added in the gate() method of the app/Providers/TelescopeServiceProvider.php file in the following way:
protected function gate()
{
Gate::define('viewTelescope', function ($user) {
return in_array($user->email, [
'user@email.com',
]);
});
}
You could instead choose to specify users by ID if you prefer:
return in_array($user->id, [
1, 2, 3,
]);
Or you could even store your permitted IDs as an environment variable in your .env file.
Configuration:
Telescope’s configuration file can be found at config/telescope.php. The explanations of the configuration options are pretty self explanatory but the main options that may require changing are the path to the Telescope dashboard (the default is /telescope/), i.e 'path' => 'telescope', and the specified database connection for Telescope to use. You can also enable or disable Telescope entirely by adding a TELESCOPE_ENABLED=true/false environment variable in your .env file.
Features:
Now you should have Telescope installed and configured in your environment, so let’s have a look through its features. We’ll be using our Brexchangerate website (see our article about how we built the site) as the chosen project to demonstrate Telescope’s features.
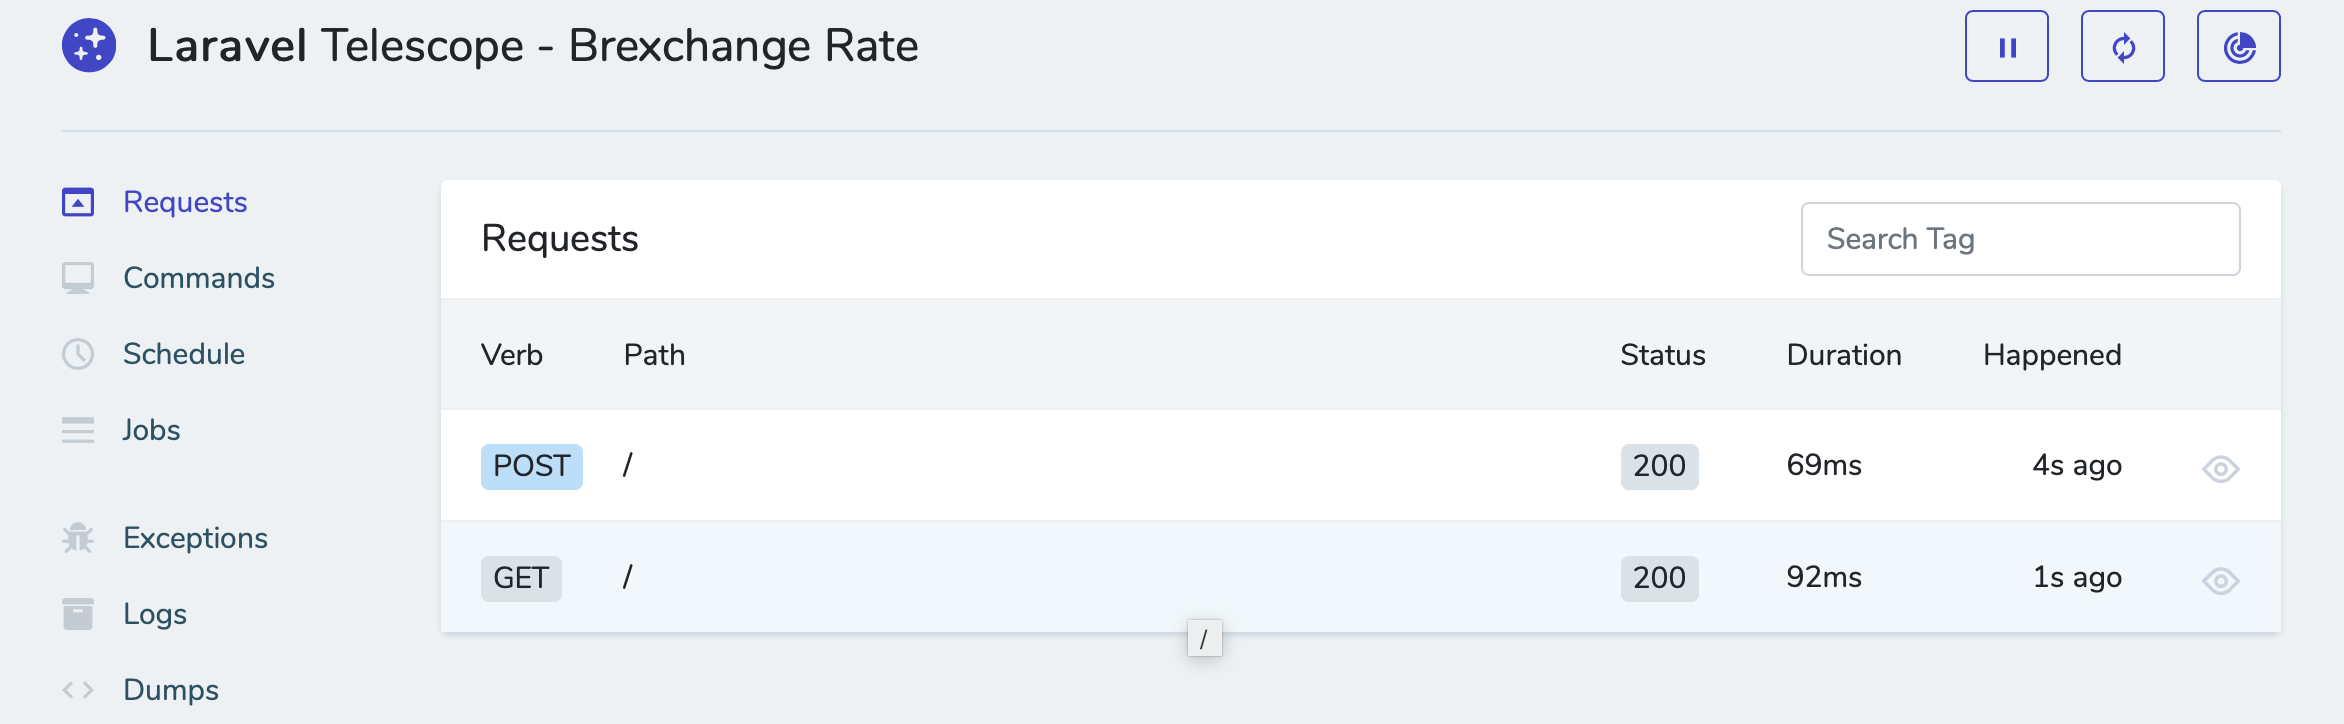
Requests
The default page when going to the Telescope dashboard, the Requests page shows all http requests, the path of the request, http status code, duration and time of the request. You can expand the detail on any request by clicking the eye icon.

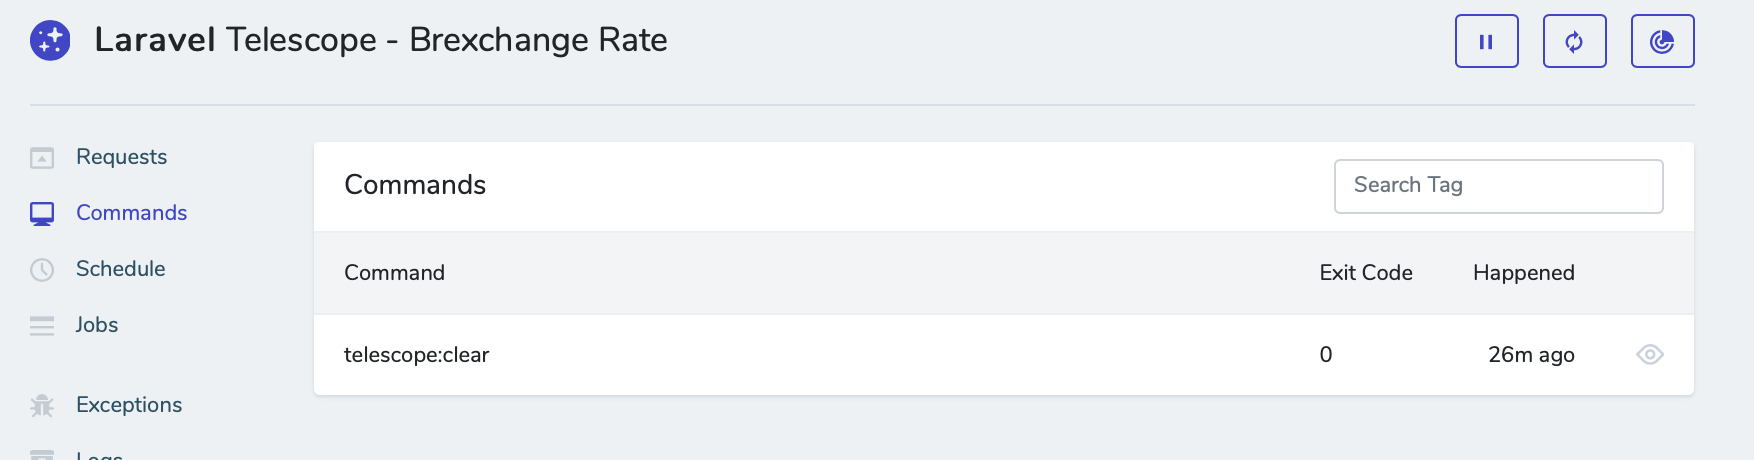
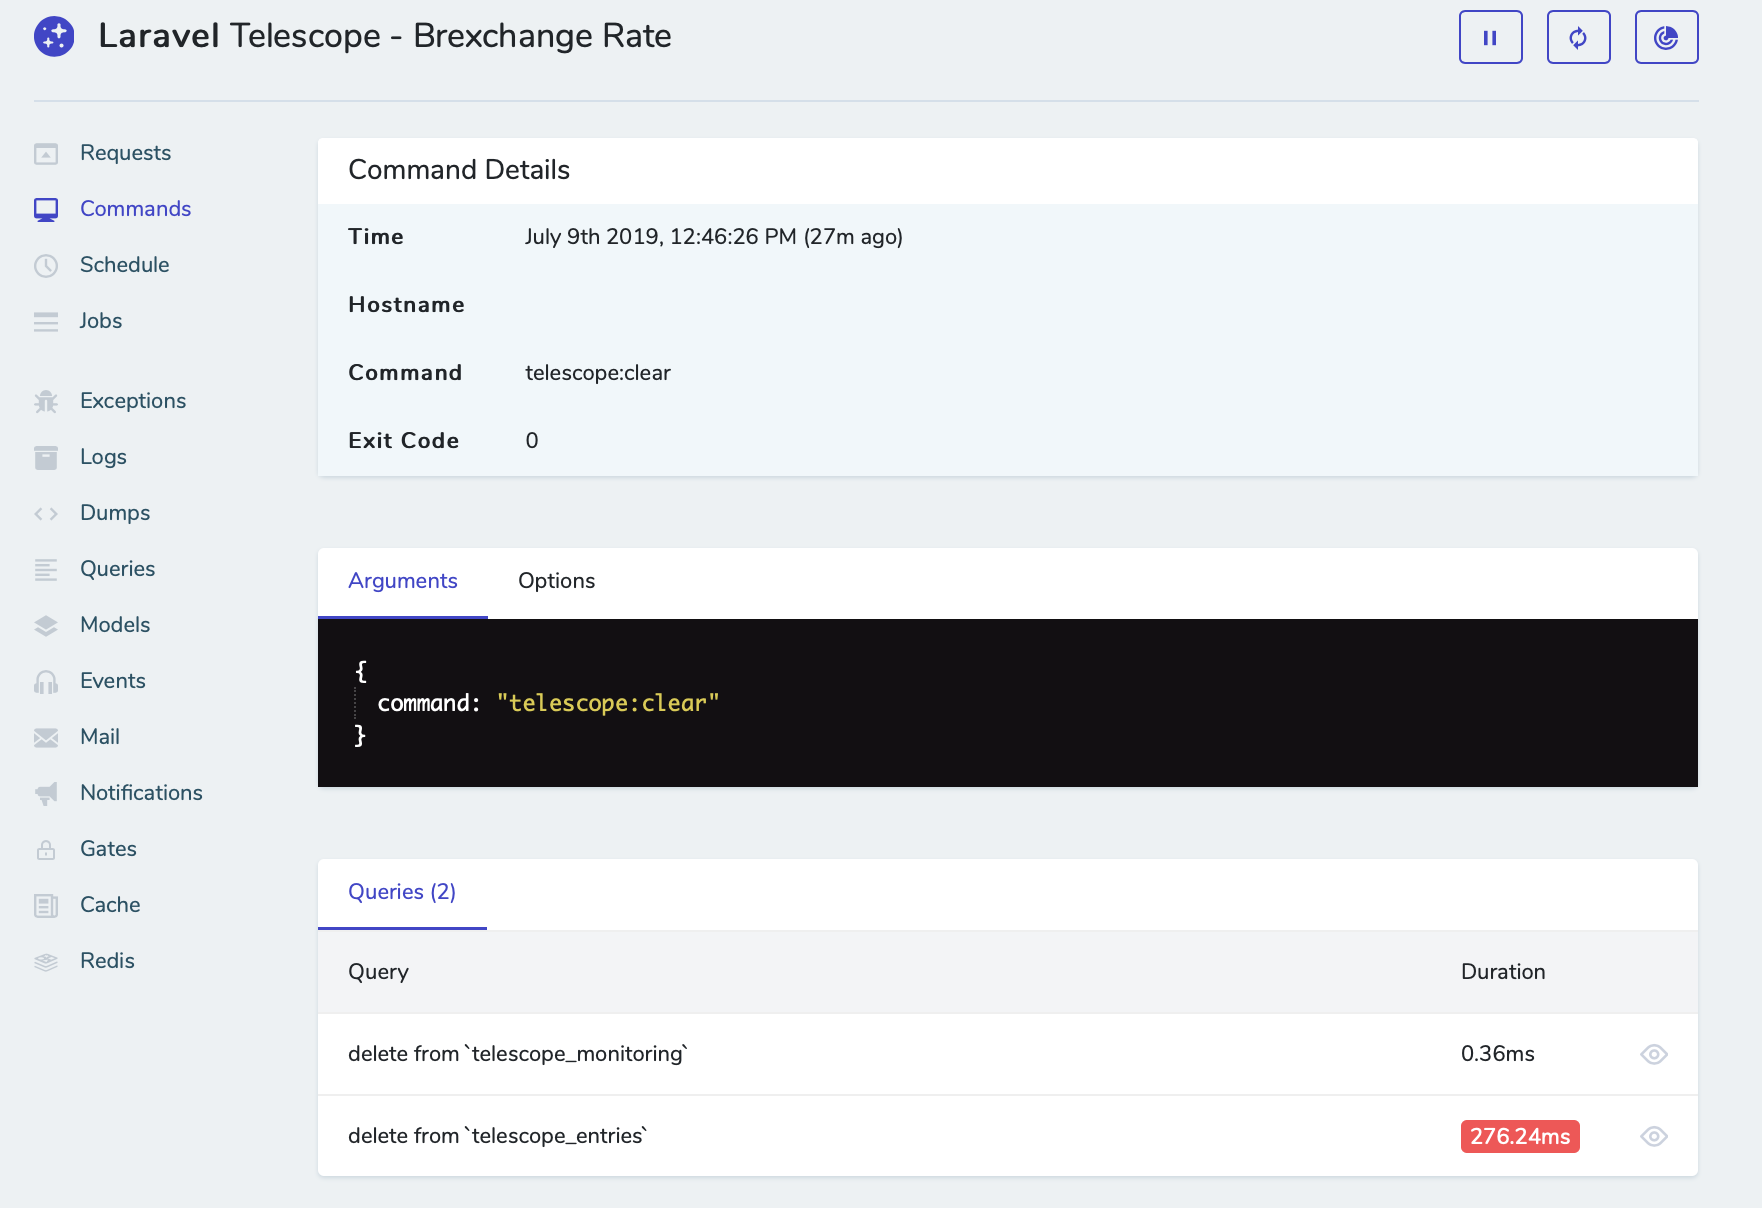
Commands
This shows all the artisan commands that have been run from the terminal. In this example we ran the php artisan telescope:clear command to clear previous log entries. Again clicking on the eye will show all the available detail about the command. An exit code of 0 means the command executed successfully.
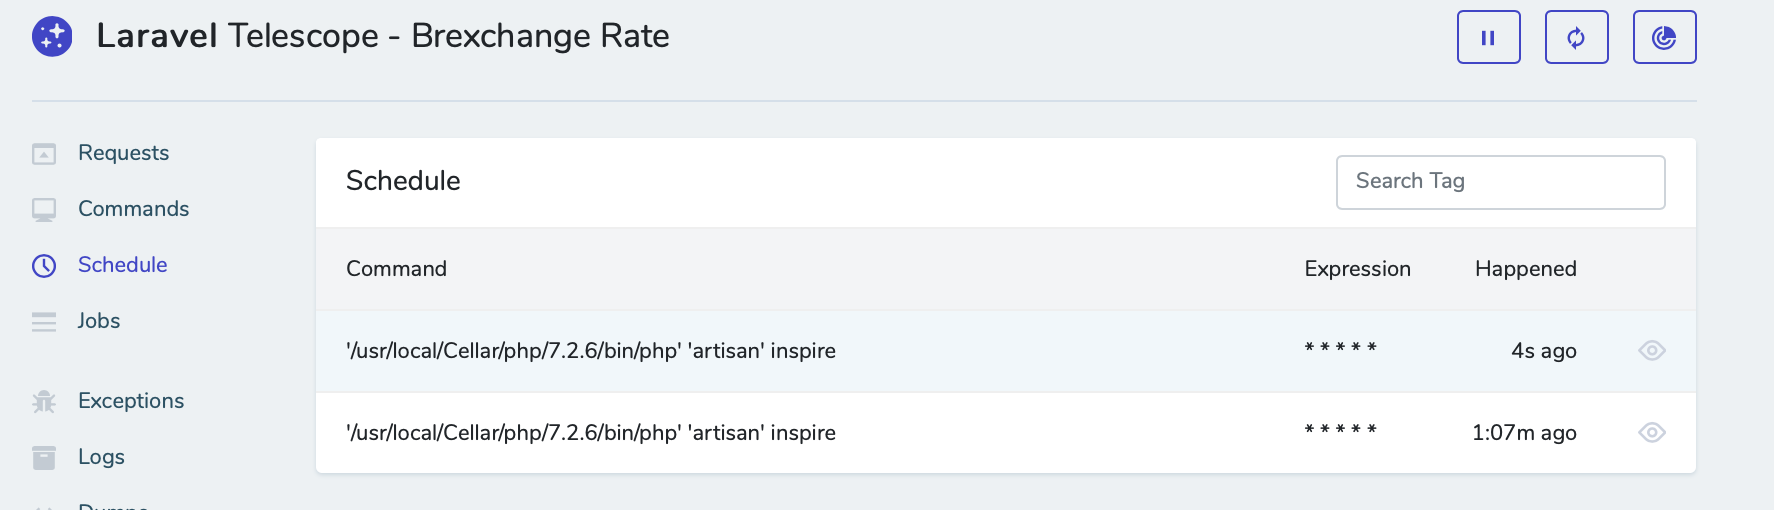
Schedule
This shows any scheduled commands, for this example we’ve uncommented the ‘inspire’ example in the schedule() method in our app/Console/Kernel.php file and set the frequency to every minute. From this page you’ll be able to check the commands are running on their expected schedule.
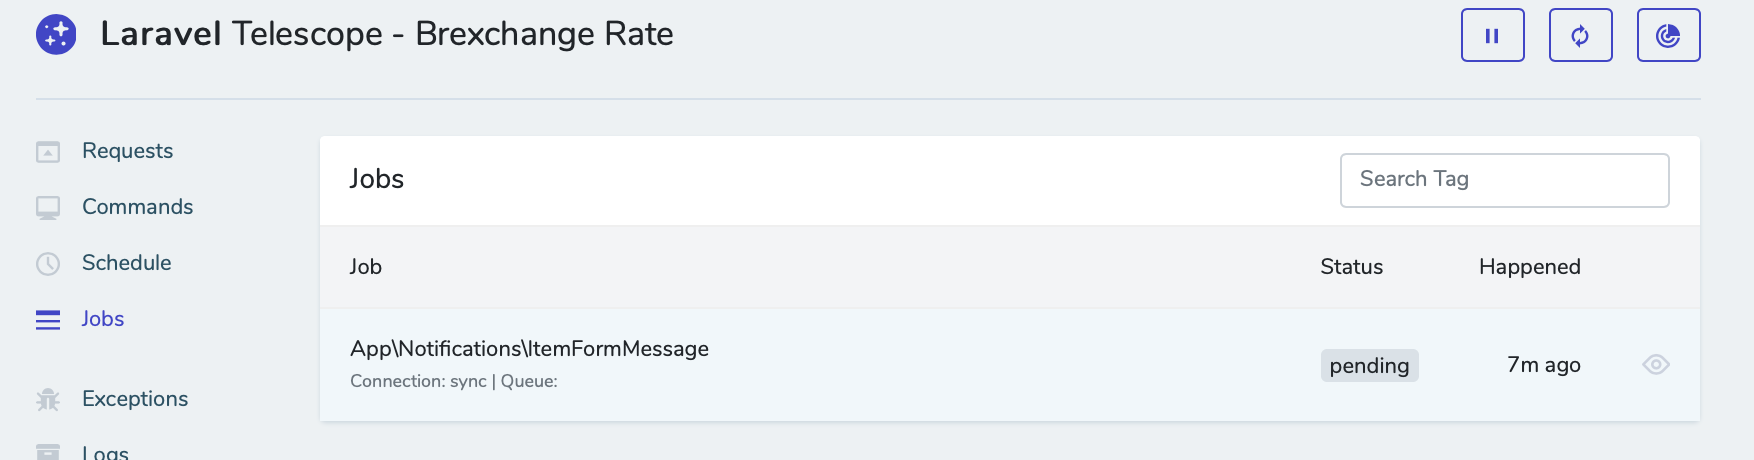
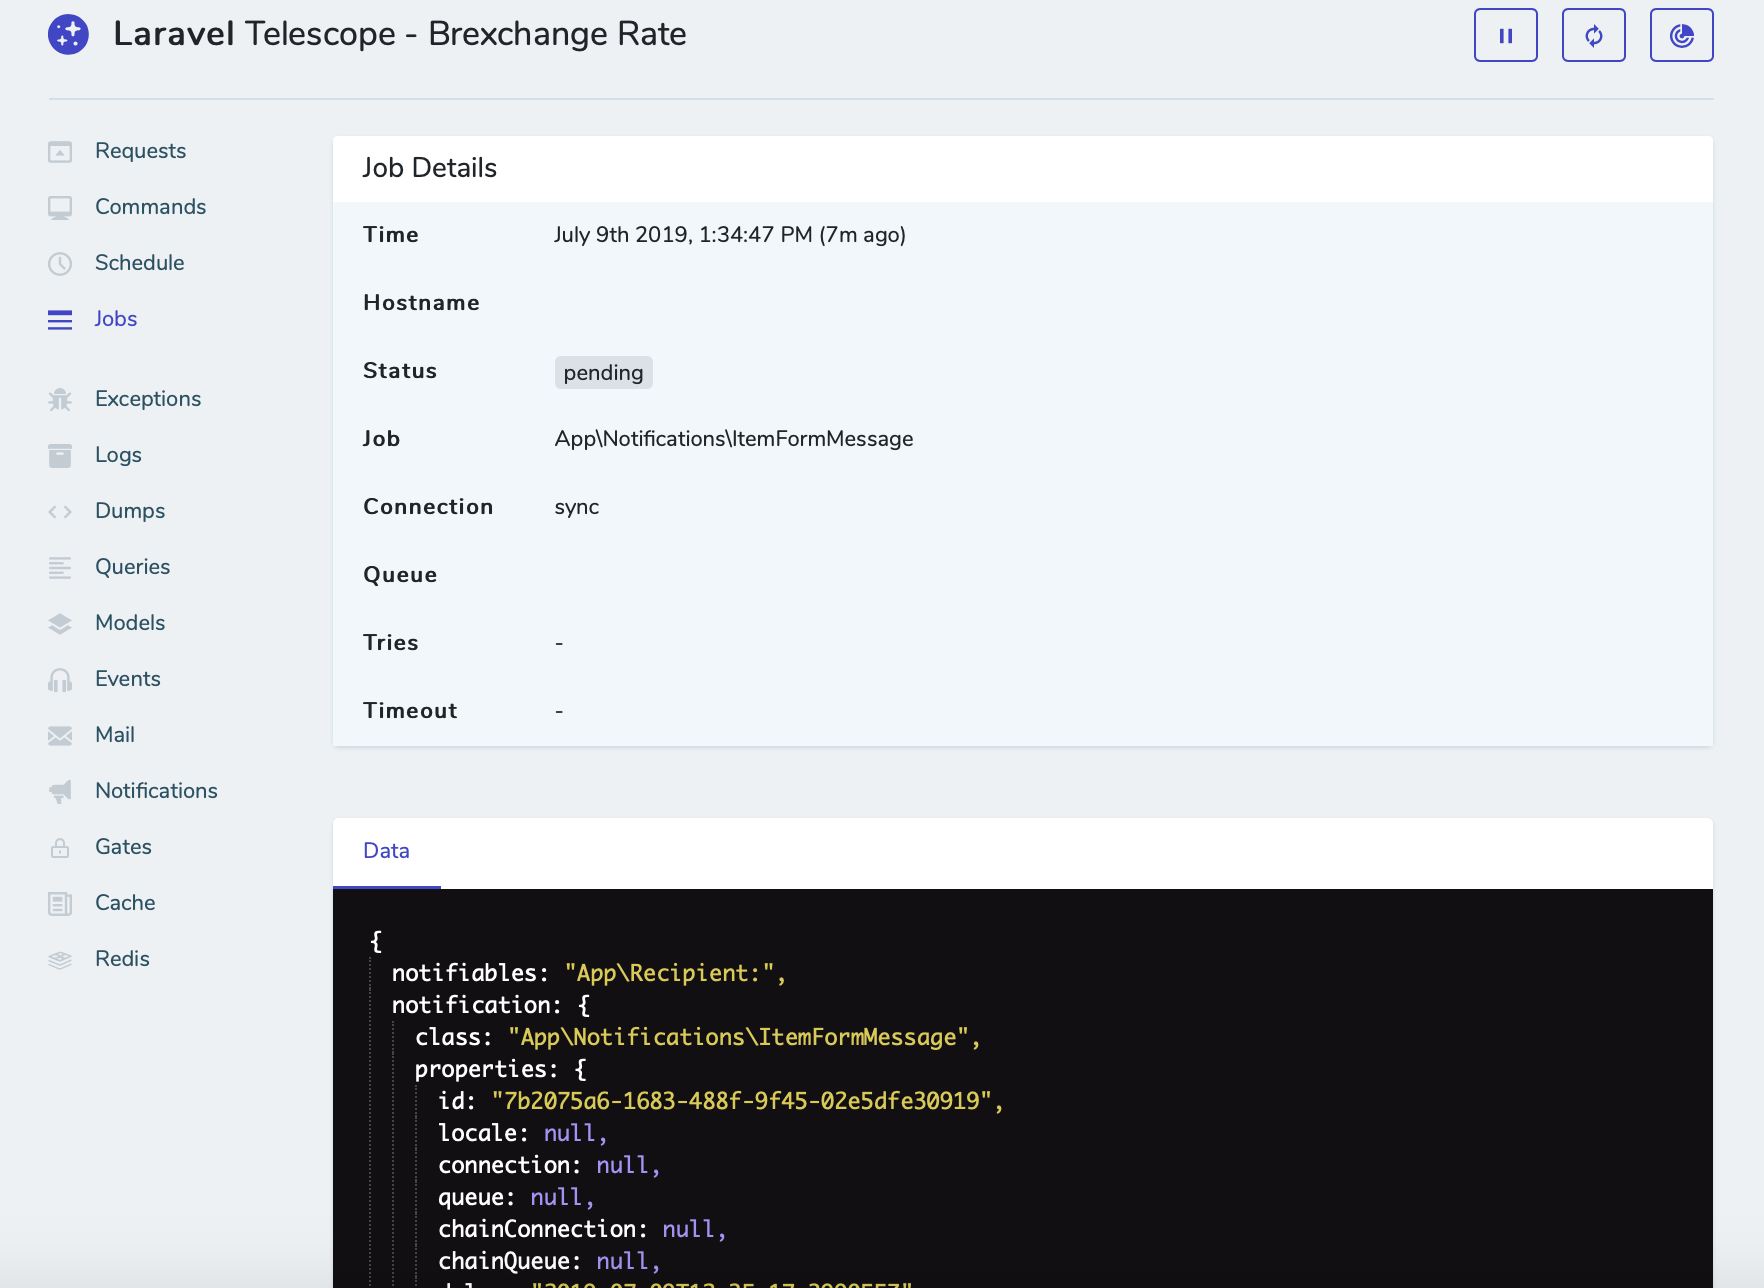
Jobs
As the name would suggest, this page shows all Jobs dispatched within your application and reports on their status, in this example we quickly added our Item Form Message to a queue, which results in the following information as shown in the screenshot. The Jobs page will report on jobs in all types of configured queue in your application (Redis, database, Beanstalk etc.).
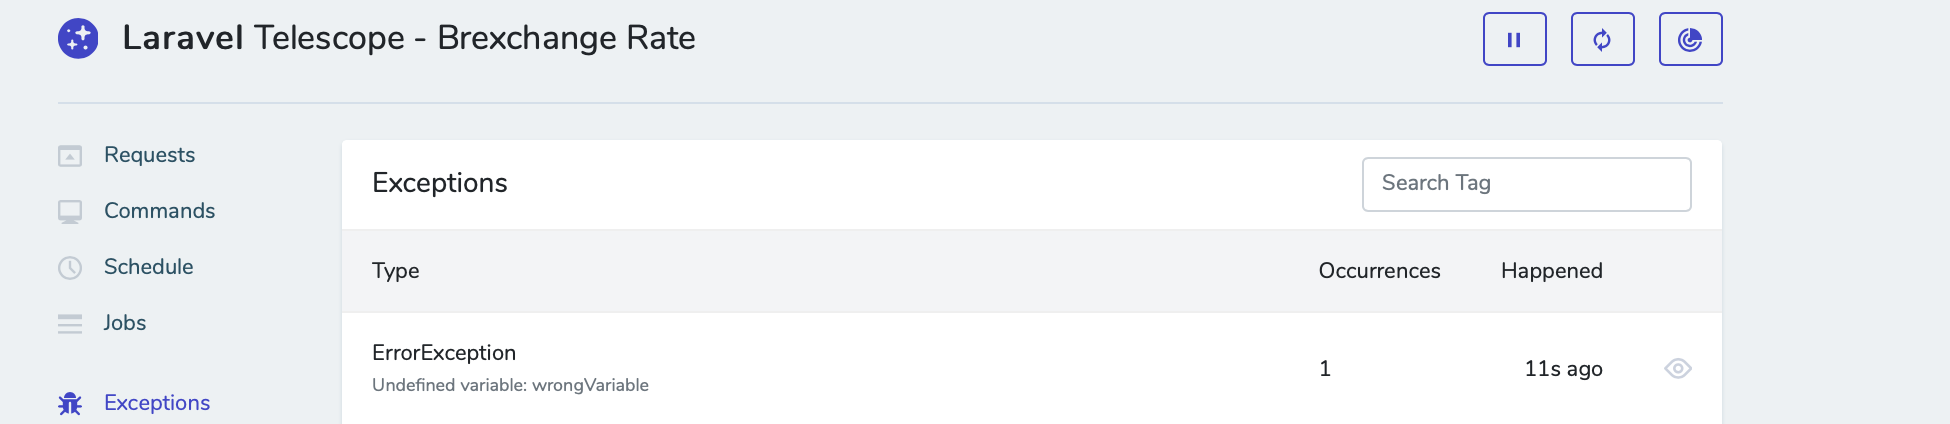
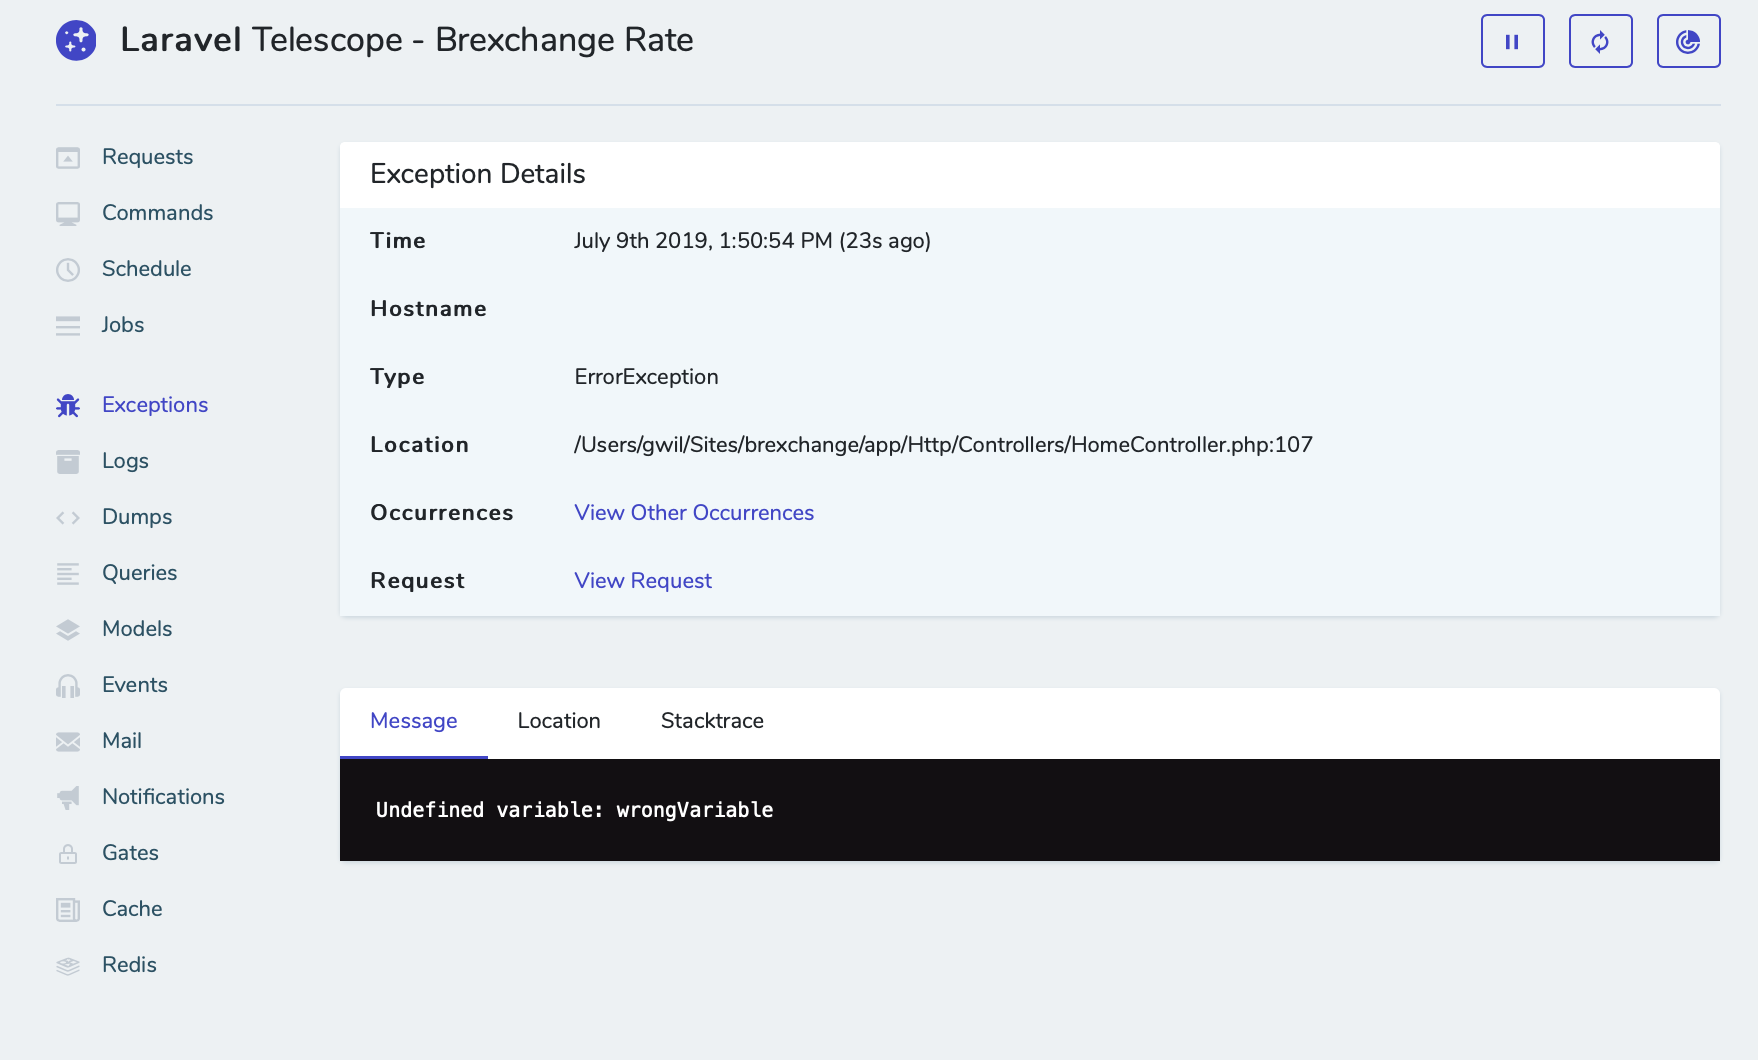
Exceptions
Here you will see a list of any exceptions your app has thrown, with the time and a count of the number of occurrences. In the details section for each you’ll see the error message, the offending line in your code, and a stacktrace.
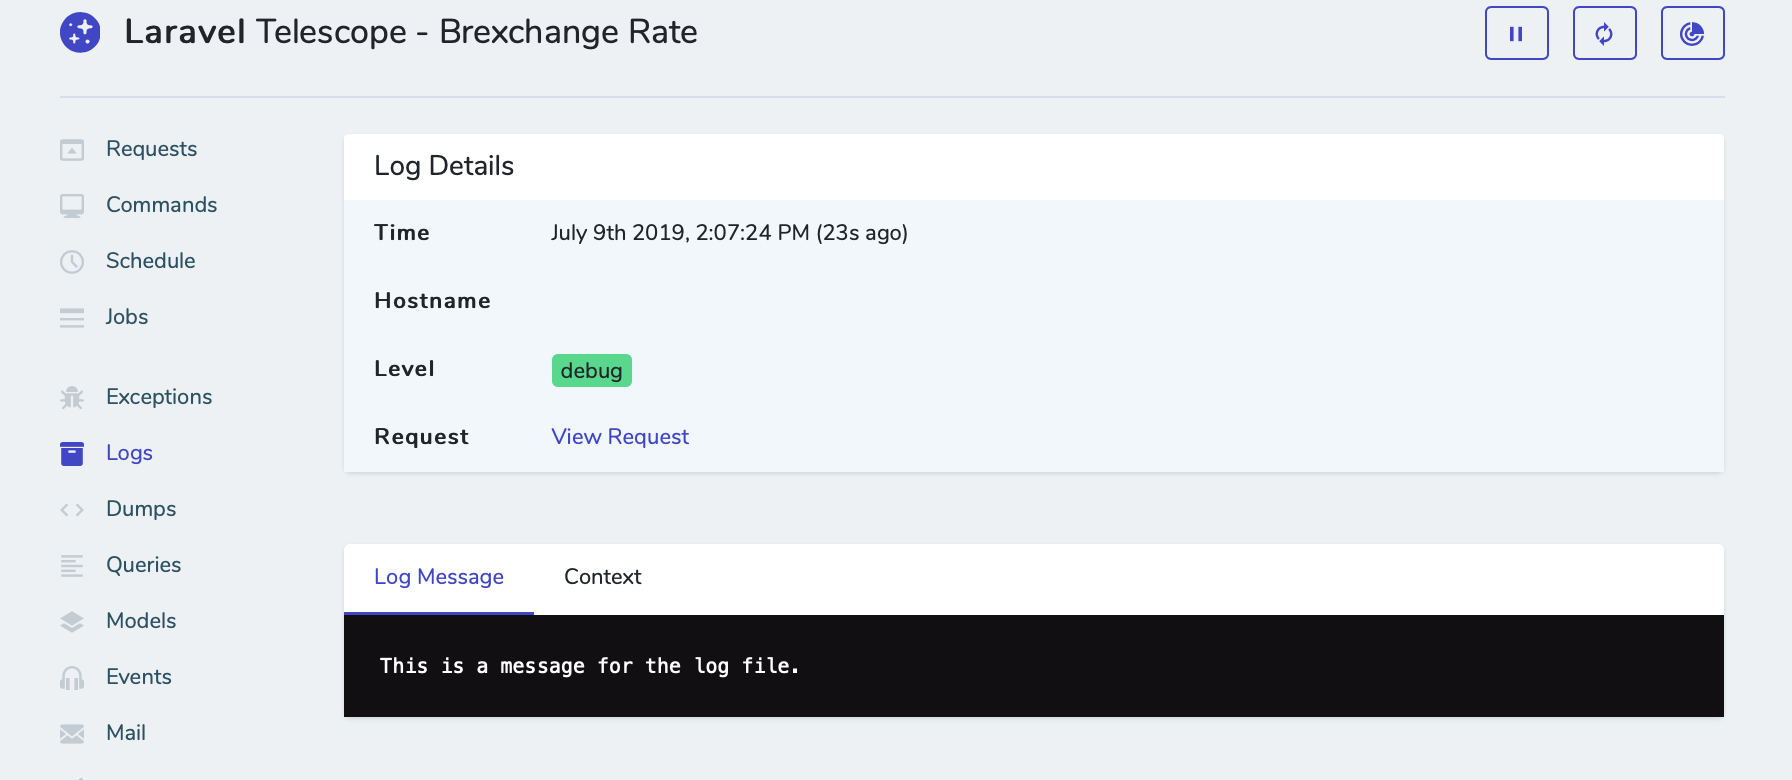
Logs
The logs page gives you a convenient and effective way of looking at the storage/logs/ log files, with further clickable links to the request if required.

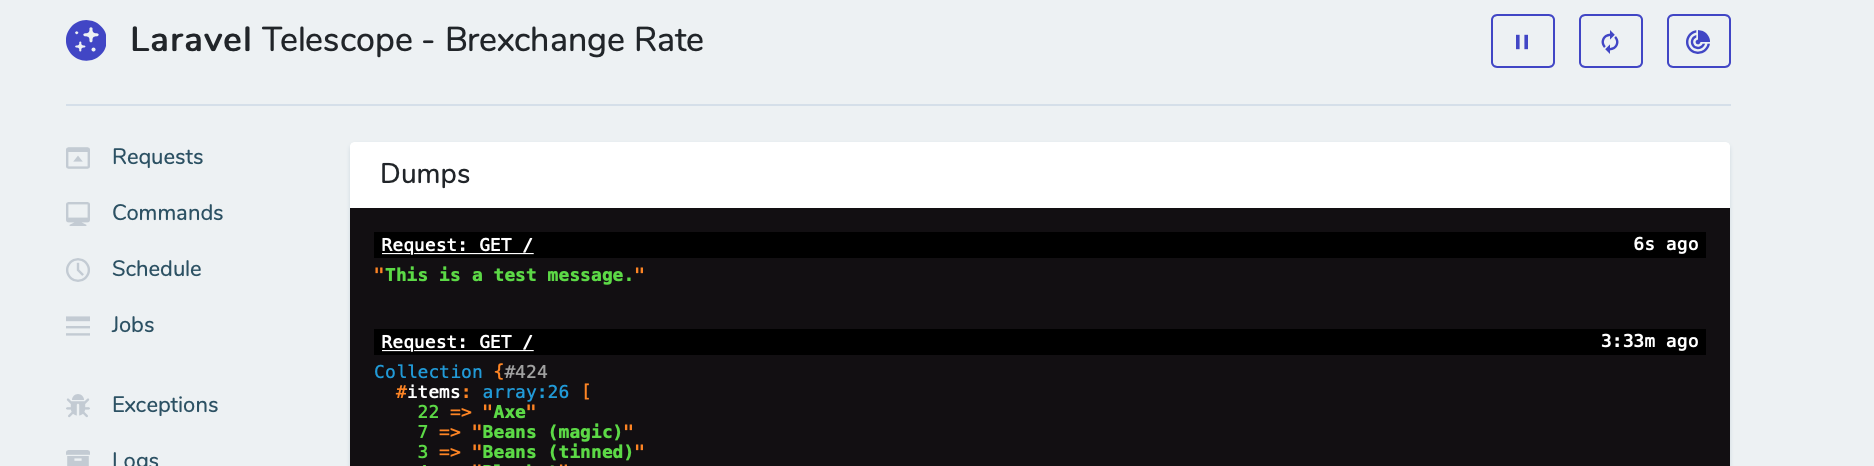
Dumps
If you have the Dumps page in Telescope open, the dump($var) method in your code will display the output on the dumps screen rather than at the top of your application's page. This is useful for keeping your view tidy while still having access to that all-important debug information. Again you can click into the request for more information if required.
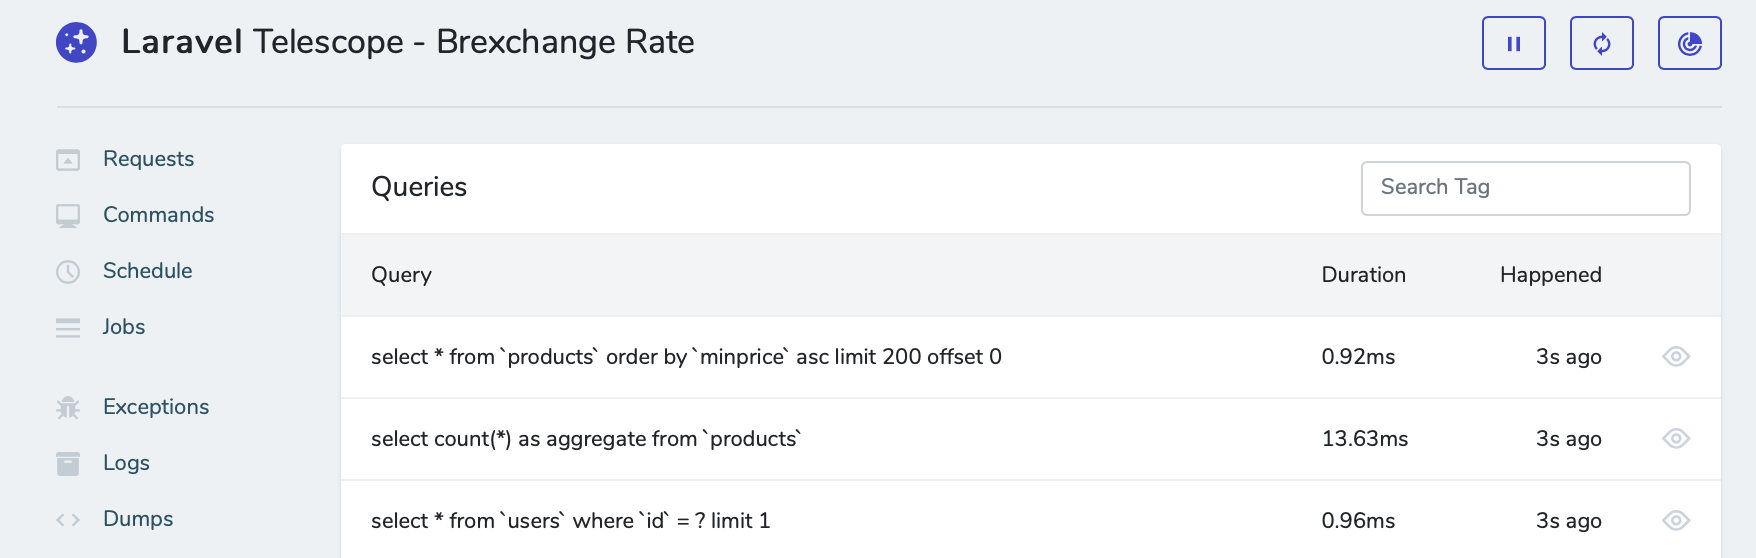
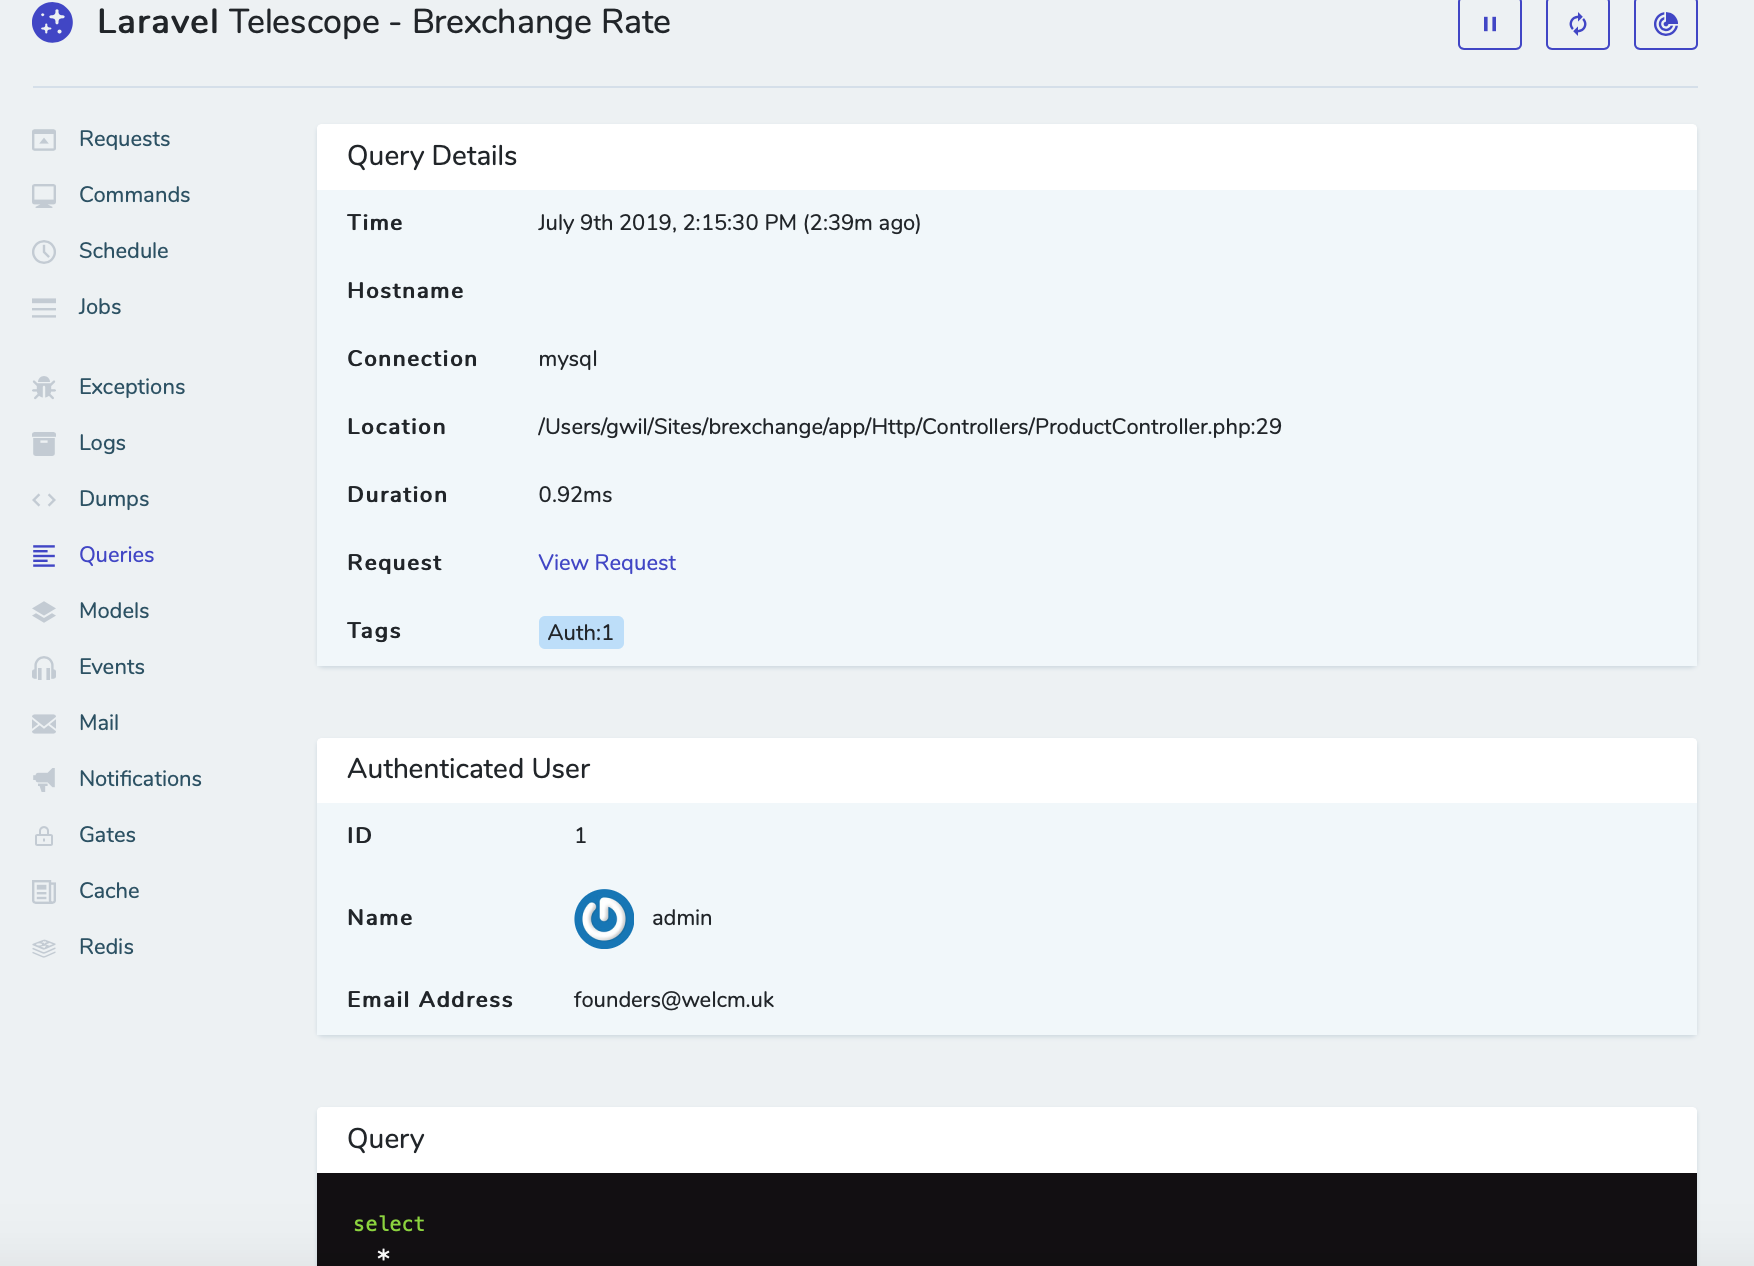
Queries
This is a very useful page for assessing whether you’re running unnecessary queries on your data as it lists out all queries, how long they took and on what data.
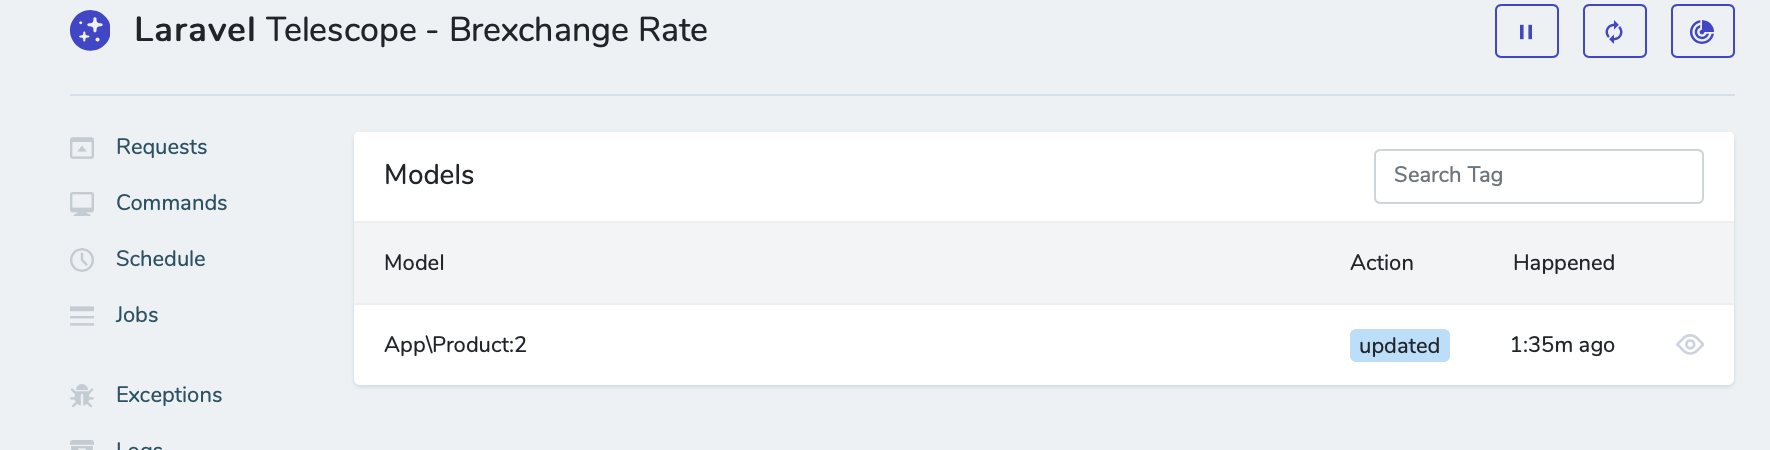
Models
From the Models page you can see all the CRUD (Create, Read, Update, Delete) actions that have happened on any of your Models. Editing a Product on our site shows up the log and displays when it was updated and what was changed.

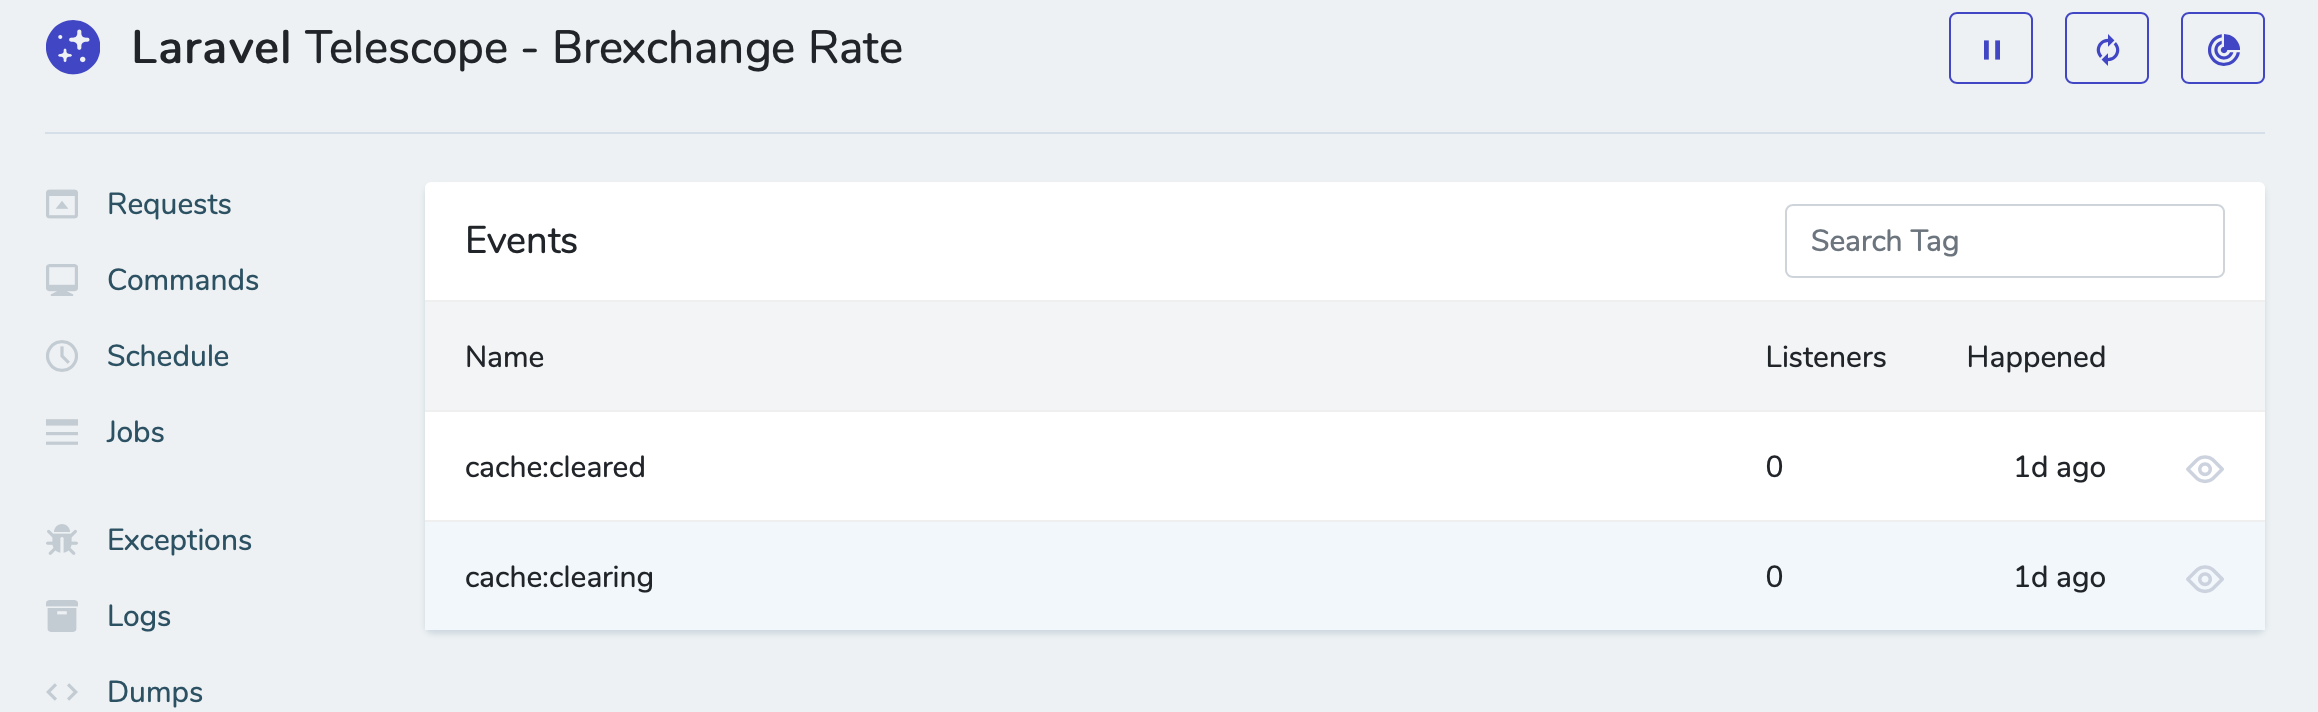
Events
The Events page shows any application events that have been triggered, whether there are any listeners associated and when they occurred.
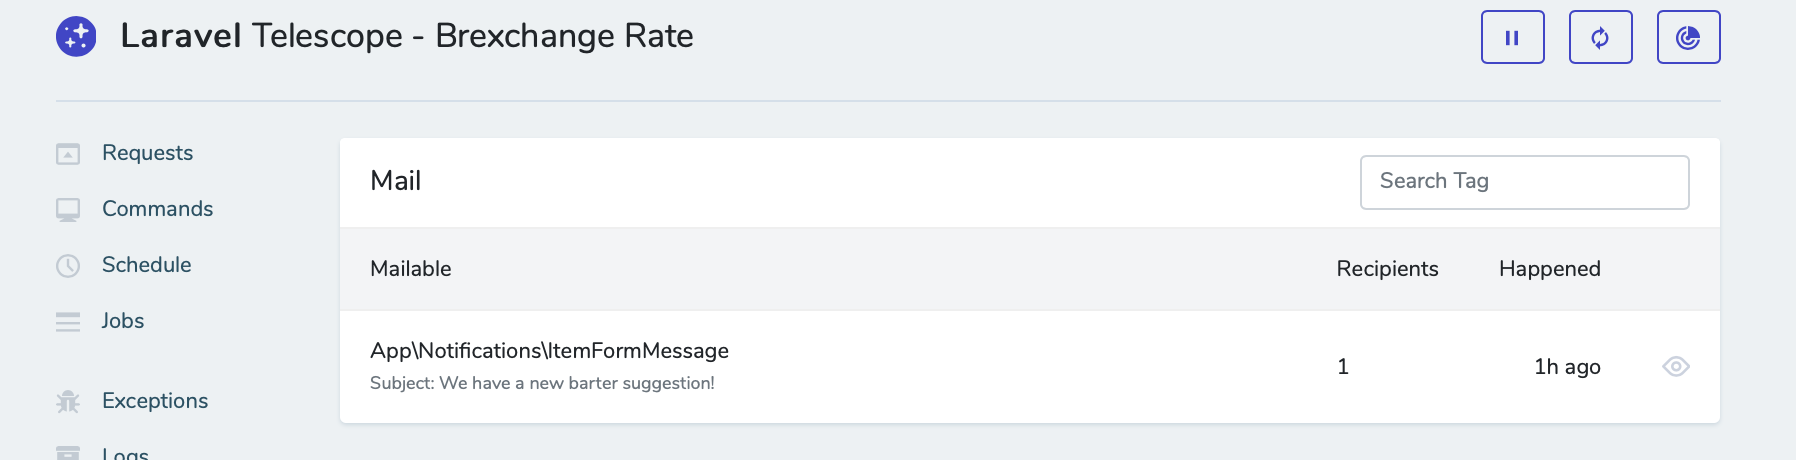
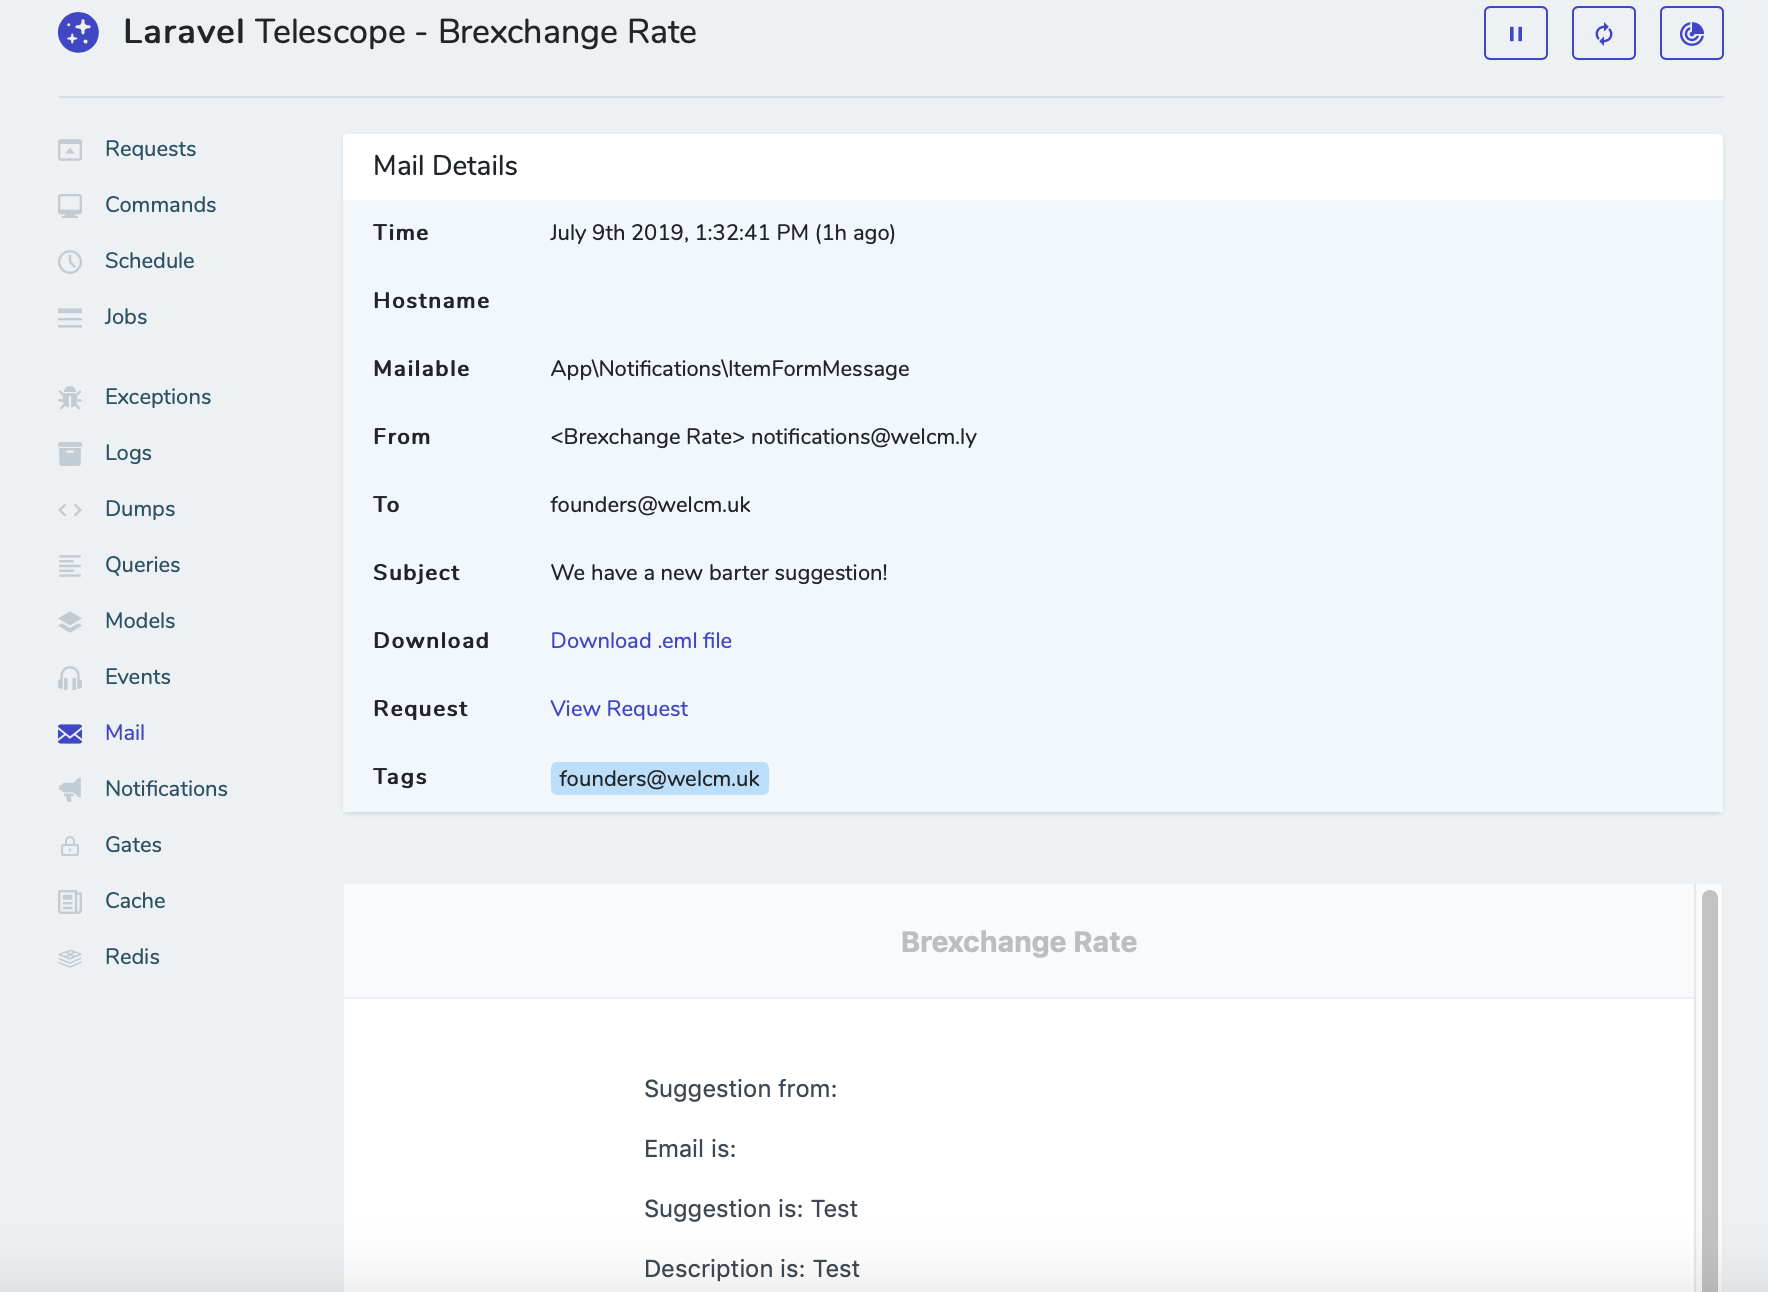
The Mail page gives you all the information you need about mail sent from your app, with a list overview showing times and a count of recipients, then in the detail view full details about the specific email and a preview of the mail sent.
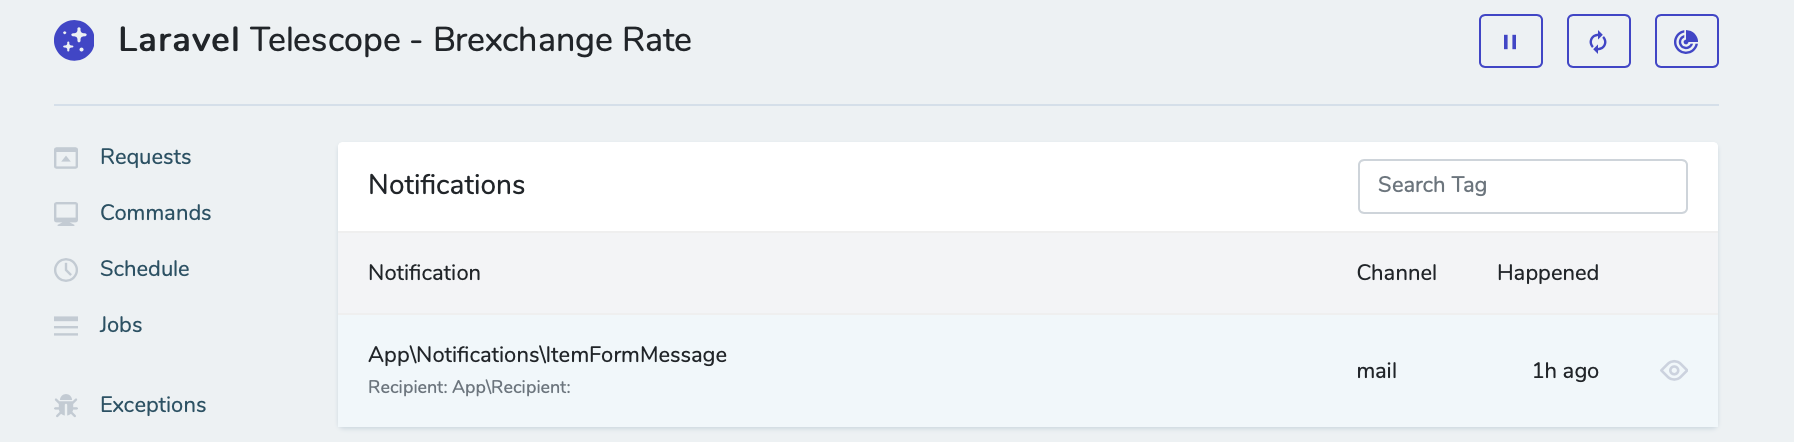
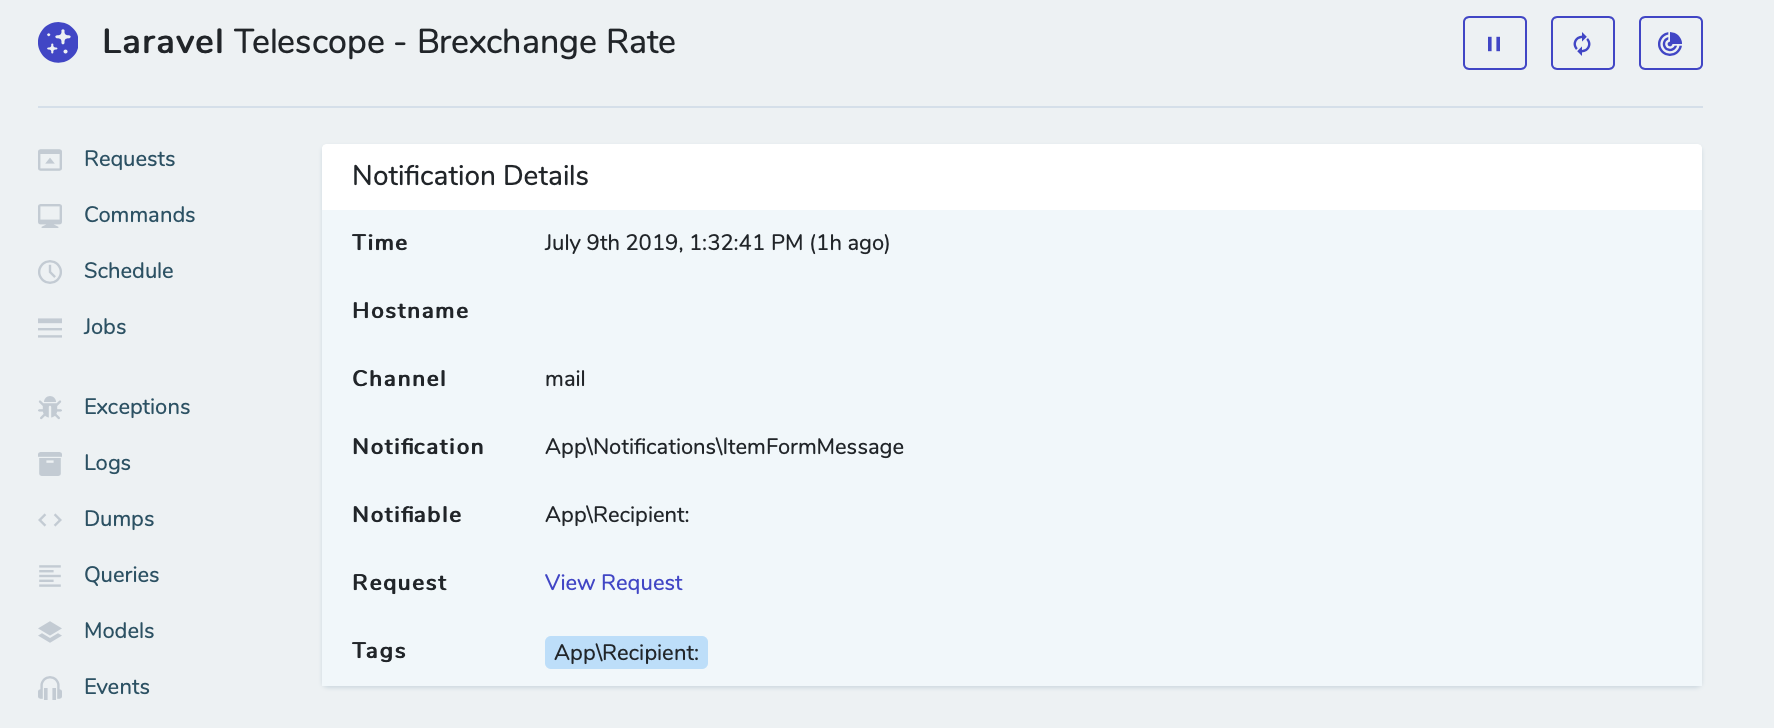
Notifications
Similarly to Mail, the Notifications page shows any notifications sent from your app, with the time and the channel used.
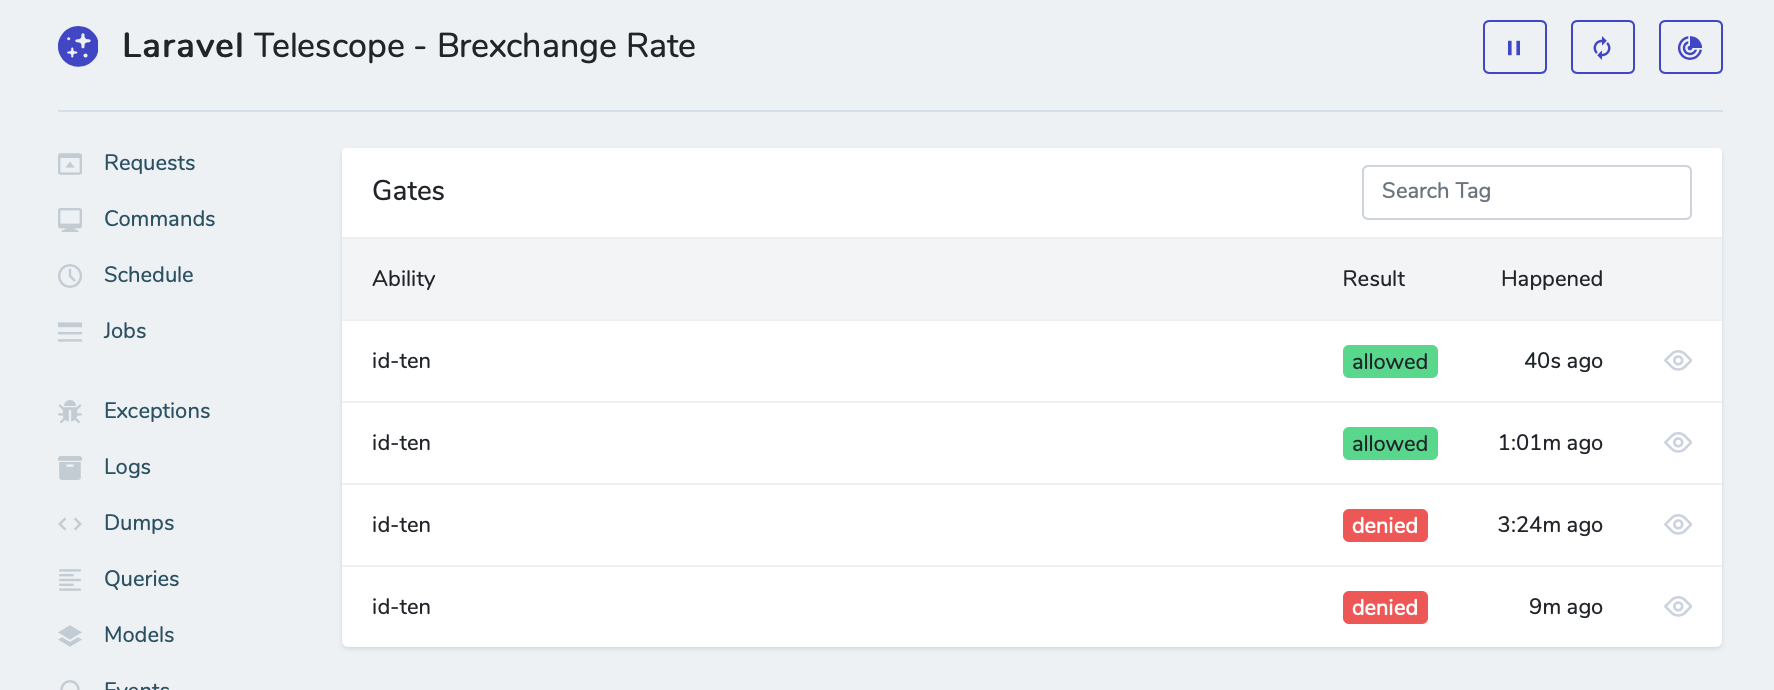
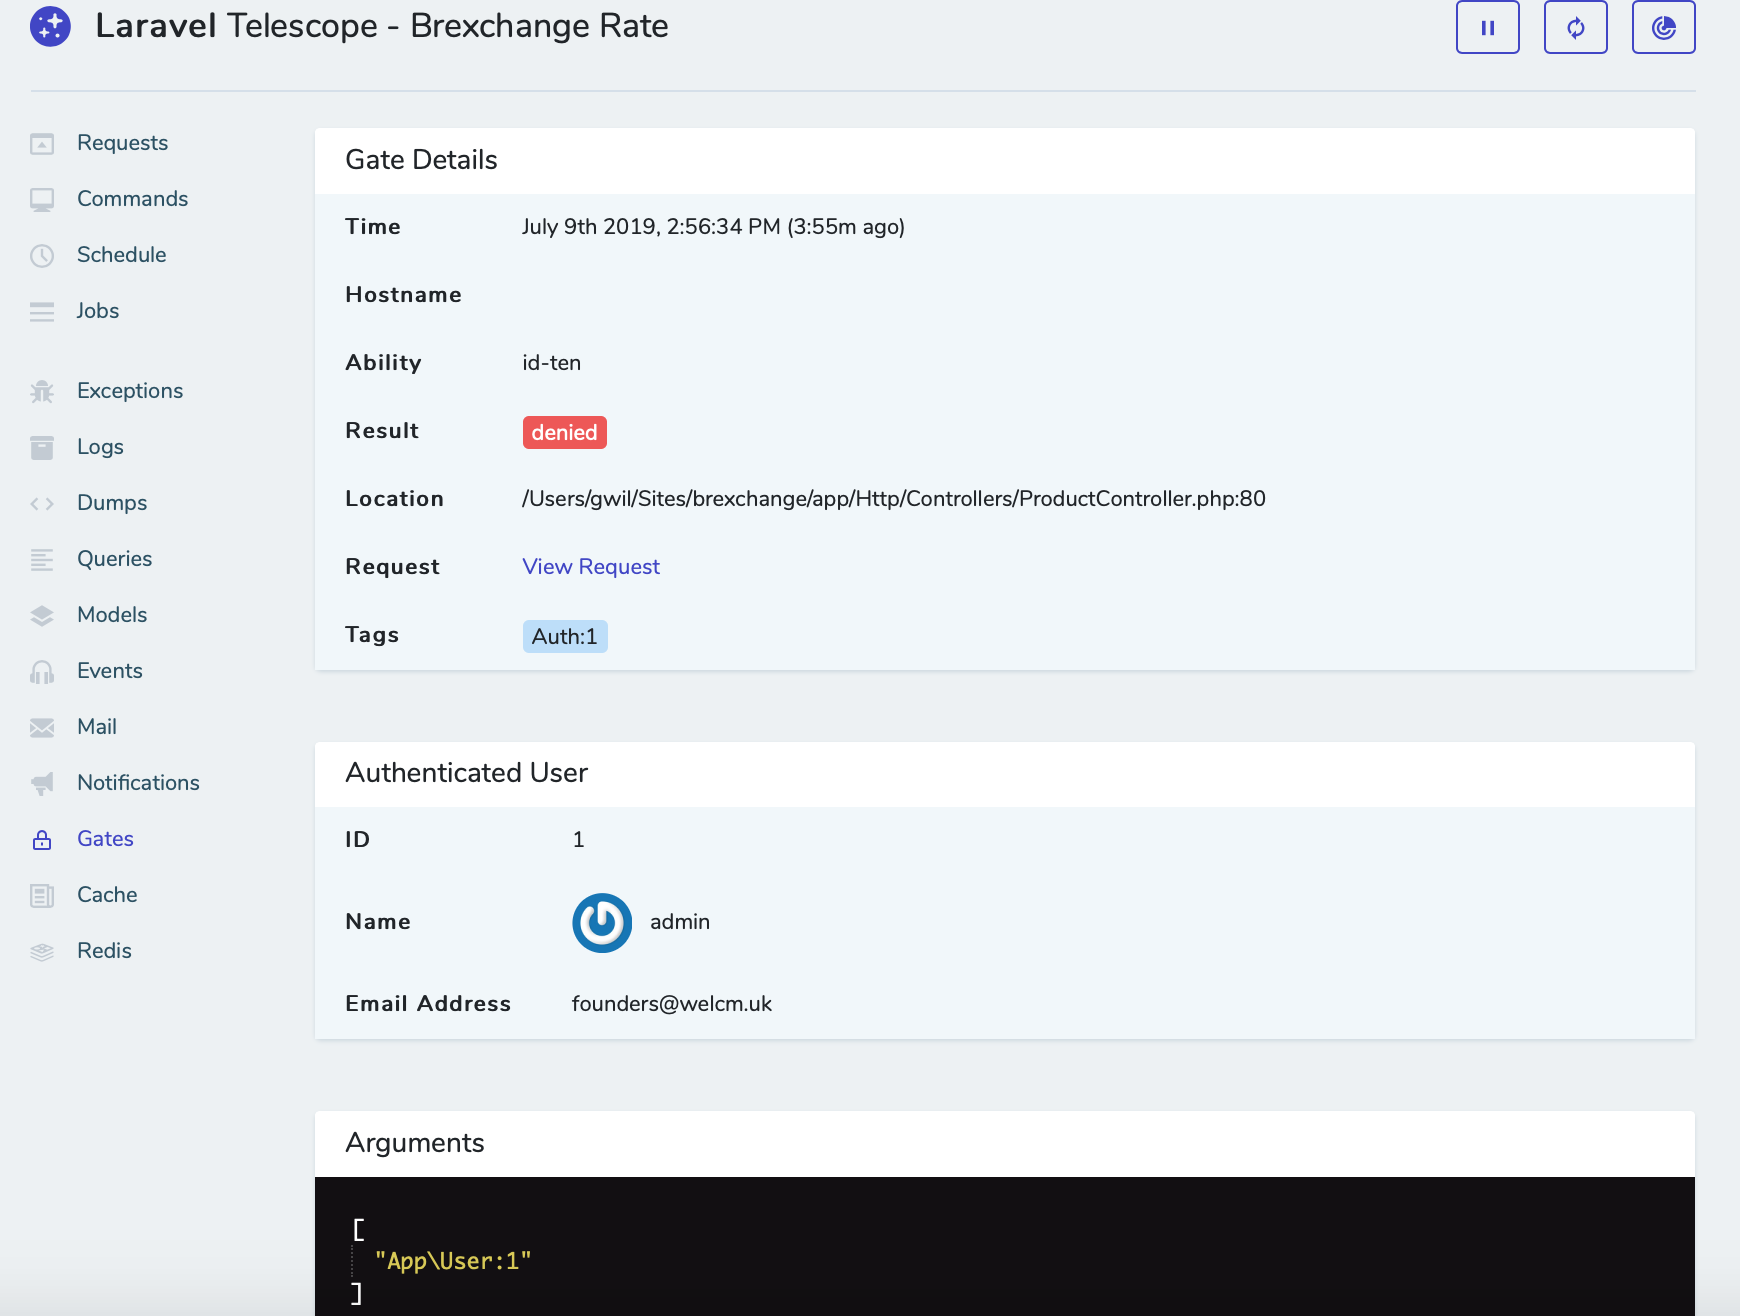
Gates
The Gates page shows the outcome of any Gate or Policy checks within your application. We’ve quickly defined a Gate called ‘id-ten’ in AuthServiceProvider.php that checks if the user has an ID of 10, then added some logic to our ProductController.php that returns an error if the user does not pass the Gate. You can see this is logged with results and further detail on the Gates page.
If there are Gates or Policies you don’t want logged, you can add them to the ignore_abilities key in the telescope.php config file:
Watchers\GateWatcher::class => [
'enabled' => env('TELESCOPE_GATE_WATCHER', true),
'ignore_abilities' => ['id-ten'],
'ignore_packages' => true,
],
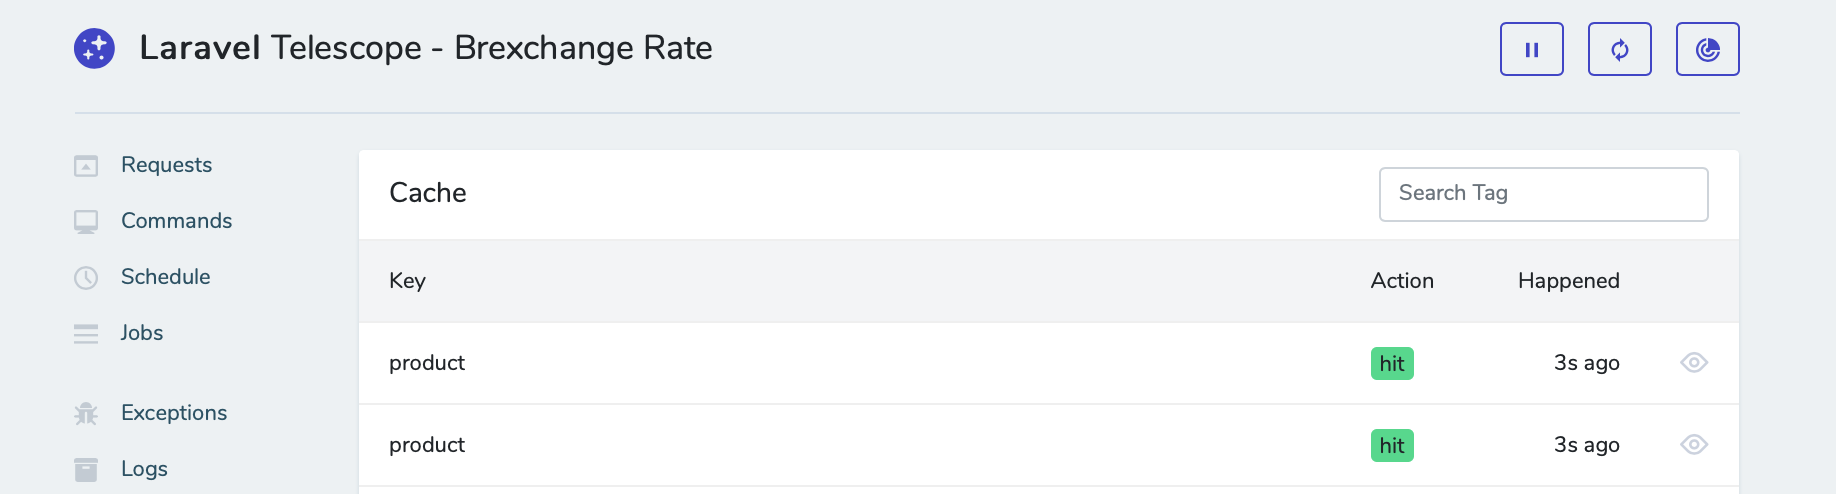
Cache
The Cache page shows all cache events, such as hits, misses and set events. As usual you can view the detail of the cache event and click through to the specific request that triggered it.
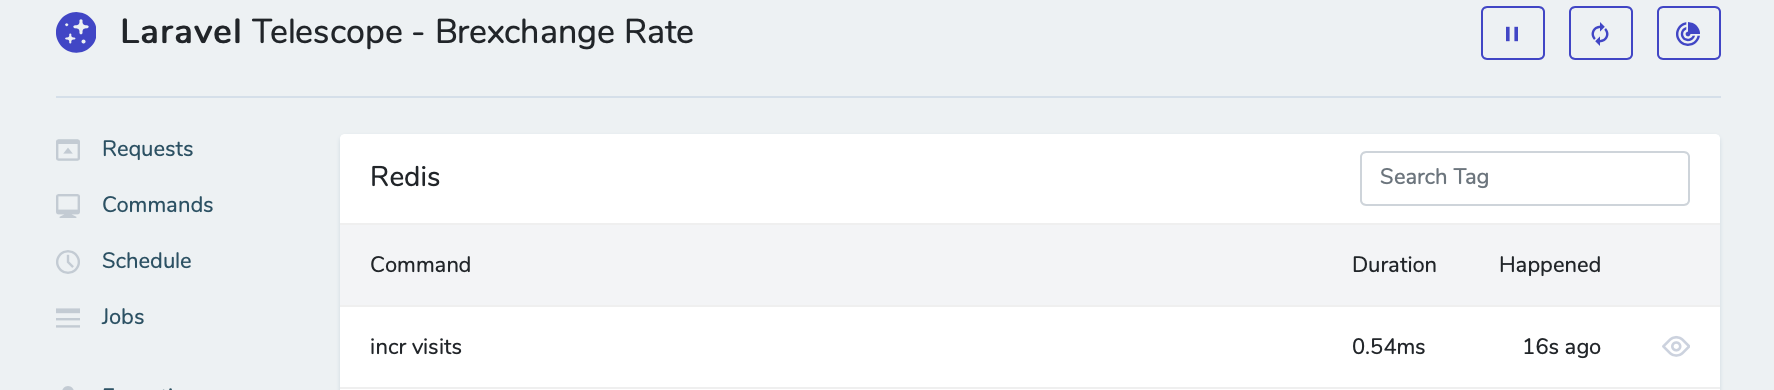
Redis
The Redis page will show any Redis cache events, with their duration and time. In our example we quickly added the following to the routes/web.php file to increment a ‘visits’ key by one each time the page loads:
use Illuminate\Support\Facades\Redis;

Route::get('/', function () {
$visits = Redis::incr('visits');
return $visits;
});
Note that you will have to add the following to the boot() method in your AppServiceProvider.php to allow Redis events to display in Telescope:
Redis::enableEvents();
Finally...
We hope this has been a useful overview of Telescope’s features. We’ve found it’s become an essential tool in developing efficient and reliable projects in Laravel and don’t start projects without it now, big or small.