


One of the most frequently requested features on new website projects is a contact form.
Many different solutions have been popular, from perl scripts, to PHP’s built in mail() function, to a variety of paid and free solutions. All have had pros and cons and contact forms never seem to be without compromises.
Luckily, by using some of Laravel’s built in features we can quickly and efficiently create a contact form system that can provide all the essential features in a structured, reliable way in a short time, which then provides us with the possibility to easily expand upon the functionality in the future.
In this guide we’ll create the contact form backend functionality and a basic form view (see our article “Bootstrap 4: Forms — How to build a contact form for your website” for further information on creating great looking responsive forms).
So in our existing or in a new Laravel project we will need to do the following:
- Create a controller file for the contact page that will contain methods for displaying the contact form view and for processing the data from the contact form
- Create the contact form view
- Add the routes for displaying the form and sending the message
- Create a form request that handles all the validation logic away from your main controllers
- Create a recipient model class that will reference name and email settings in a separate config file to determine where the contact form information is sent
- Create a notification that allows us to format the mail message we will receive
- Add or check the email settings in your .env file
This seems like a lot of tasks but most are relatively quick, so let’s get started.
If you need hosting for your Laravel projects, we like DigitalOcean, you can get $100 hosting credit to try it out if you sign up via this link.
Controller:
You may already have a suitable controller file, if not then create the controller file in your project by running:
$ php artisan make:controller ContactController
As mentioned above, we need a method to display the contact form view and another to process the form data.
Add the following to your controller file (you’ll find it at /app/Http/Controllers/ContactController.php if you just created it):
Namespace App\Http\Controllers;
use App\Notifications\ContactFormMessage;
use App\Http\Controllers\Controller;
use App\Http\Requests\ContactFormRequest;
use App\Recipient;
Class ContactController extends Controller
{
 public function show()
 {
  return view('contact.index');
 }
public function mailContactForm(ContactFormRequest $message, Recipient $recipient)
 {
  $recipient->notify(new ContactFormMessage($message));

  return redirect()->back()->with('message', 'Thanks for your message! We will get back to you soon!');
 }
}
You’ll see a few lines here that might not make sense yet but all should become clear as we add the remaining files.
View:
You should already have a main layout available that contains all your <head> elements (in this example we’re using one with bootstrap 4 already set up), or you can create something from scratch. Either way, create /resources/views/contact/index.blade.php and add the following:
<div class="container">
  <div class="row">
  <div class="col">
  <h2 class="mx-auto text-center">Send enquiry</h2>
@if(session('message'))
  <div class='alert alert-success'>
  {{ session('message') }}
  </div>
@endif
@if($errors->any())
      <div class="alert alert-danger">
          <ul>
          @foreach ($errors->all() as $error)
              <li>{{ $error }}</li>
          @endforeach
          </ul>
      </div>
@endif
<div class="col-12 col-md-6">
  @include('contact.form')
</div>
</div>
</div>
</div>
You’ll note the two @if … @endif sections — these display any success or error messages to the user when the submit button is pressed. The @include line is so we can keep the actual form file separate in case we want to use it in multiple locations on the website, or just to make maintaining the code easier in the future.
Create /resources/views/contact/form.blade.php. We’re going to use plain html that can be styled any way you like (see our article “Bootstrap 4: Forms — How to build a contact form for your website” for some helpful information).
You could use Laravel Collective form facades if you prefer. Follow the instructions in the link to get it set up.
Otherwise, in form.blade.php add the following:
<form class="form-horizontal" method="POST" action="/contact">

   {{ csrf_field() }}

  <div class="form-group">
   <label for="Name">Name: </label>
   <input type="text" class="form-control" id="name" placeholder="Name" name="name" required>
  </div>
  <div class="form-group">
   <label for="email">Email: </label>
   <input type="text" class="form-control" id="email" placeholder="Email" name="email" required>
  </div>
  <div class="form-group">
   <label for="message">Message: </label>
   <textarea type="text" class="form-control" id="message" placeholder="Enter your message here" name="message" required> </textarea>
  </div>
  <div class="form-group">
    <button type="submit" class="btn btn-primary" value="Send">Send</button>
  </div>

</form>
Routes:
Add the following in your routes/web.php file
Route::get('/contact', 'ContactController@show');
Route::post('/contact', 'ContactController@mailContactForm');
You should now be able to navigate to yourappname.test/contact and see the view with your form included:
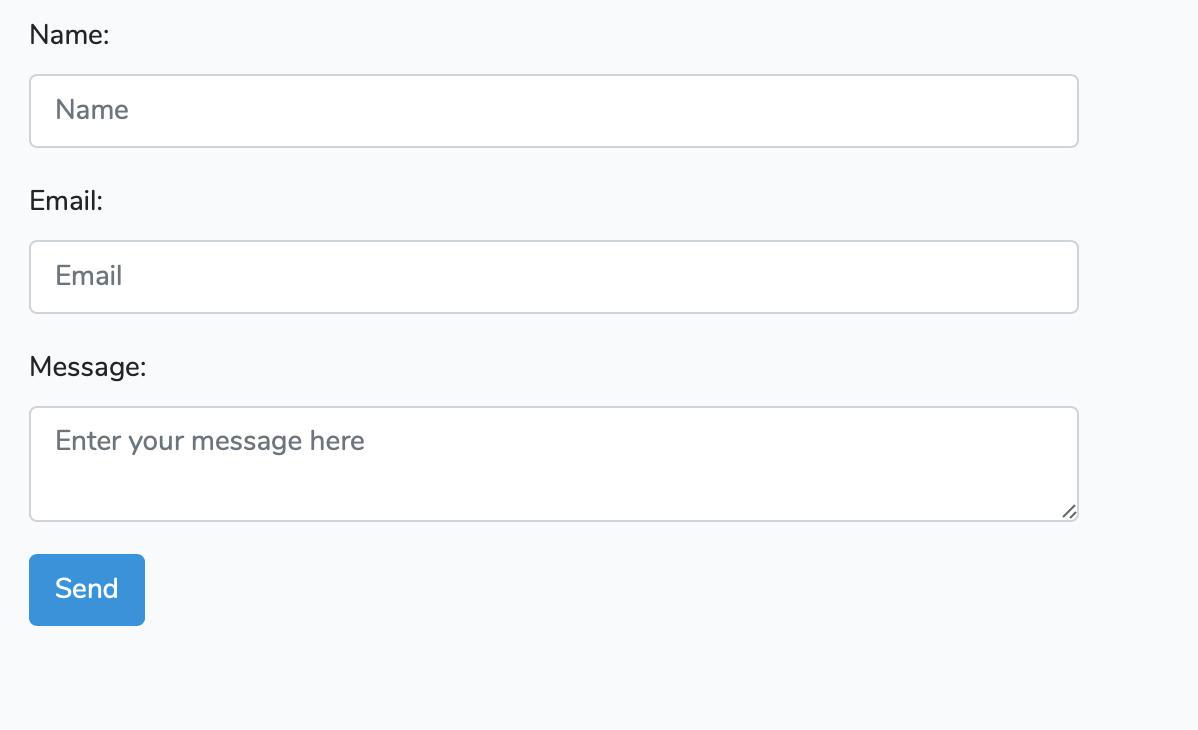
We’re getting there, but the form won’t work yet!
Request:
Since Laravel 5 we can now create form requests, the idea being validation logic is removed from normal controller files.
Run the following:
$ php artisan make:request ContactFormRequest
This will create /app/Http/Requests/ContactFormRequest.php. There will be some boilerplate code in the file, we need to update it to set authorize to true and to add our validation rules, so replace the code with the following:
namespace App\Http\Requests;
use Illuminate\Foundation\Http\FormRequest;
class ContactFormRequest extends FormRequest
{
    /**
     * Determine if the user is authorized to make this request.
     *
     * @return bool
     */
    public function authorize()
    {
        return true;
    }
/**
     * Get the validation rules that apply to the request.
     *
     * @return array
     */
     public function rules()
     {
         return [
             'name' => 'required|max: 255',
             'email' => 'required|email|max: 255',
             'message' => 'required',
         ];
     }
}
You can customise the error messages by adding the following after the rules() method:
public function messages(){
       return [
       'required' => 'The :attribute field is required.',
       'email' => 'The :attribute must be a valid :attribute address'
       ];
     }
Model:
The simplest way to implement Laravel notifications and to have an easily customisable contact form recipient name and email address is to create a recipient model and add some properties to it.
Run the following:
$ php artisan make:model Recipient
This will create /app/Recipient.php, where we must add the Notifiable trait built in to Laravel so our recipient can use the notify() method. Update the Recipient.php file as follows:
namespace App;
use Illuminate\Notifications\Notifiable;
use Illuminate\Database\Eloquent\Model;
class Recipient extends Model
{
  use Notifiable;
  protected $recipient;
  protected $email;
  public function __construct() {
        $this->recipient = config('recipient.name');
        $this->email = config('recipient.email');
    }
}
You’ll note the reference to config() options in the code above, so we must create the necessary config file. Create /config/recipient.php and add the following:
Return [
    'email' => 'user@email.com',
    'name' => 'UserName',
];
You could of course add these settings to your .env file and reference them as follows:
Return [
    'email' => env('RECIPIENT_EMAIL'),
    'name' => env('RECIPIENT_NAME'),
];
And adding the following to your .env file:
RECIPIENT_EMAIL=user@email.com
RECIPIENT_NAME=UserName
We’re nearly there! Just the actual email sending part to go…
Notification:
Notifications are pretty straight forward now we’ve done the necessary preparation, just run:
$ php artisan make:notification ContactFormMessage
And /app/Notifications/ContactFormMessage.php will be created with boilerplate code.
We need to change a few things, firstly we need to import our ContactFormRequest by adding towards the top of the file:
use App\Http\Requests\ContactFormRequest;
Then inside the ContactFormMessage class (i.e. just before the construct() method) add:
protected $message;
Update the following:
public function __construct()
    {
        //
    }
To this:
public function __construct(contactFormRequest $message)
      {
          $this->message = $message;
      }
Change the toMail() from:
public function toMail($notifiable)
    {
        return (new MailMessage)
                    ->line('The introduction to the notification.')
                    ->action('Notification Action', url('/'))
                    ->line('Thank you for using our application!');
    }
to:
public function toMail($notifiable)
    {
     return (new MailMessage)
     ->subject(config('recipient.name') . ", you have a new message!")
     ->greeting(" ")
     ->salutation(" ")
     ->from($this->message->email, $this->message->name)
     ->line($this->message->message);
    }
We’re passing empty strings for greeting and salutation just to make the email simpler.
Feel free to customise this to your liking. Check the documentation on Laravel notifications for more information.
Email settings:
Finally, we need to make sure Laravel has correct email settings to actually send emails, this example uses the normal SMTP driver, but of course you can quickly and easily configure a third party provider such as Mailgun if required.
MAIL_DRIVER=smtp
MAIL_HOST=smtp.domain.com
MAIL_PORT=465
MAIL_USERNAME=youraccount@domain.com
MAIL_PASSWORD=yourpassword
MAIL_ENCRYPTION=ssl
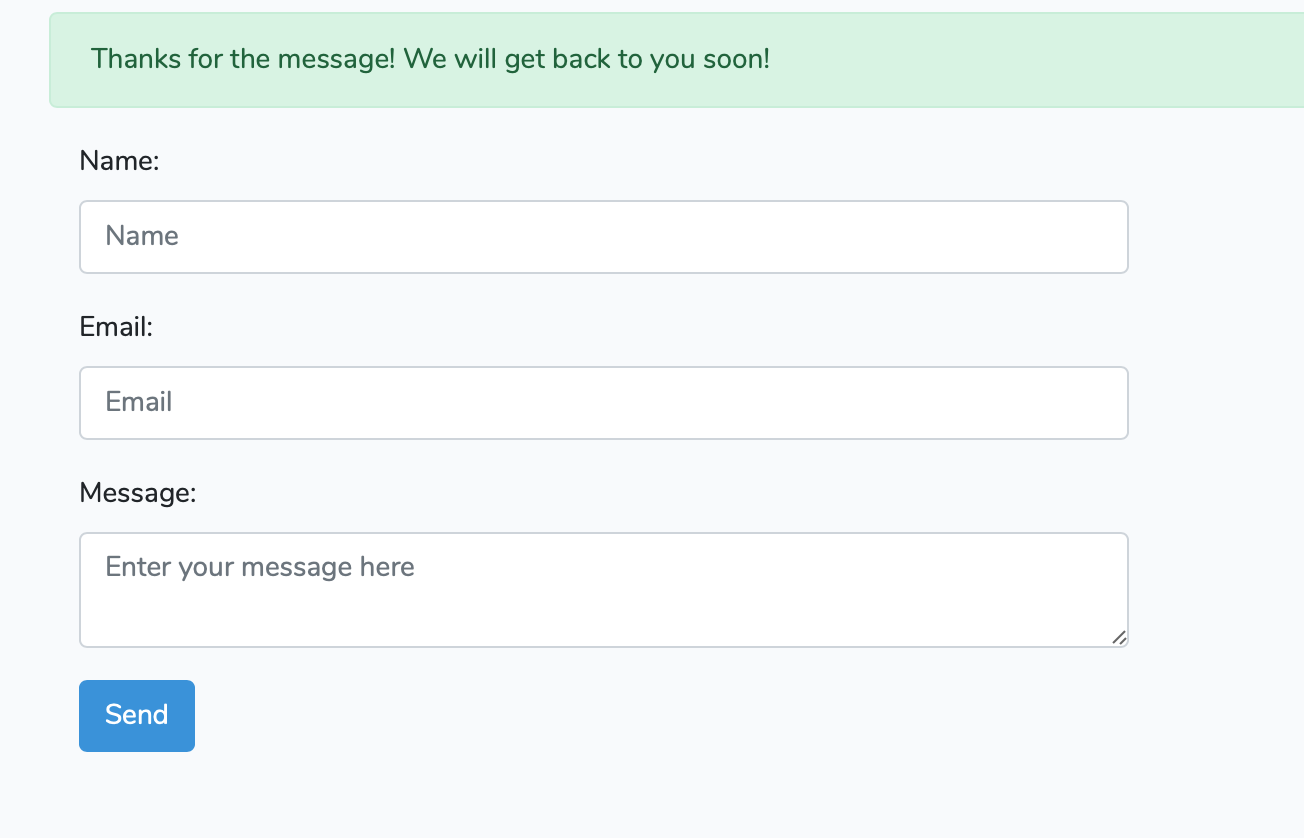
Testing:
So that’s pretty much it! Go to yourproject.test/contact, fill out the form and hit submit, you should see a success message on screen and receive an email.
Further enhancements:
Now we have the basics for email sending via a contact form in Laravel, we can customise things and add a whole bunch of useful extra features if we need to, just a few ideas would be:
- Customising the email template — simply run:
$ php artisan vendor:publish --tag=laravel-mail
…and edit the files in /resources/views/vendor/mail/
- Save form submissions to a database — useful in the event of any email issues
- API integrations — hook up with your favourite CRM
- Other notifications — for example you could receive a slack notification whenever a form is submitted
- Custom validation rules or Recpatcha — be as specific as you like with how forms are validated
Conclusion:
We hope this article has been useful — even though it seems like a lot of steps, by setting up contact forms using this structure you will be able to maintain a reliable, secure, robust and extendable contact form system without any compromises.
At Welcm Software we believe all software development should follow these principles, so if we can assist with any of your projects get in touch (using the contact form if you like!)