


Introduction
Often in iOS software projects, we need to rely on functionality provided by a third party library to provide application features. These libraries may be written in Swift or in Objective C, but luckily both can be used in projects written in either language. In this tutorial we will be looking at the most common use case of importing an Objective C library into a Swift project. We’ll be using Brother’s iOS printer SDK as an example framework but the basic principles will be the same for any library.
How to import an Objective C framework into a Swift project
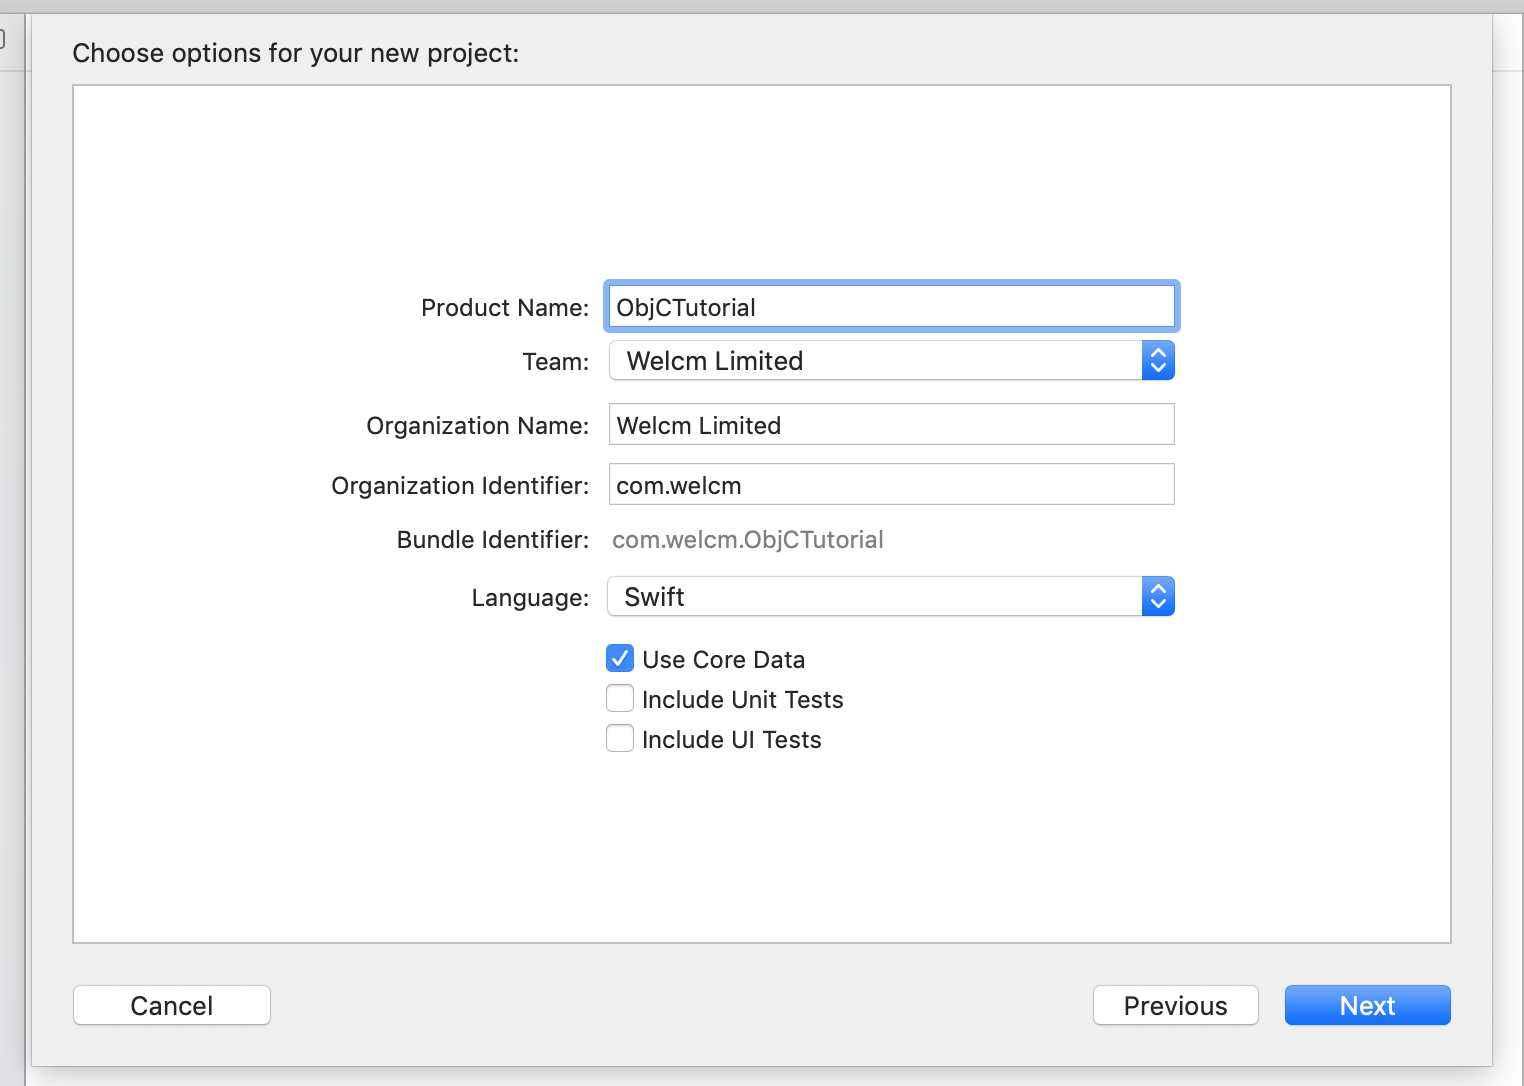
For the purposes of this tutorial we’ll be starting with a new project to keep things simple, but you can of course implement this in an existing project if required. We’ll create a new project called “ObjCTutorial”
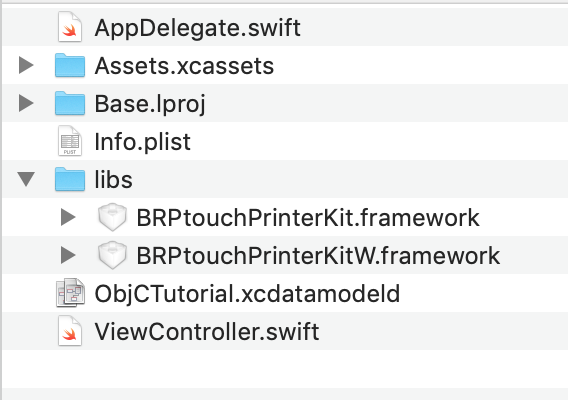
Next we’ll need to find our framework files which we wish to import into the project, we recommend including them in the actual project folder if appropriate, so we create a folder called “libs” in the project folder, and copy the framework files into this folder.
Now we need to link the frameworks to the project, so we need to go in to the main project settings, then under the General tab in the target settings scroll down to “Linked Frameworks and Libraries”, click the +, click “Add Other…” and browse to and select your framework files, and they will appear in the list.
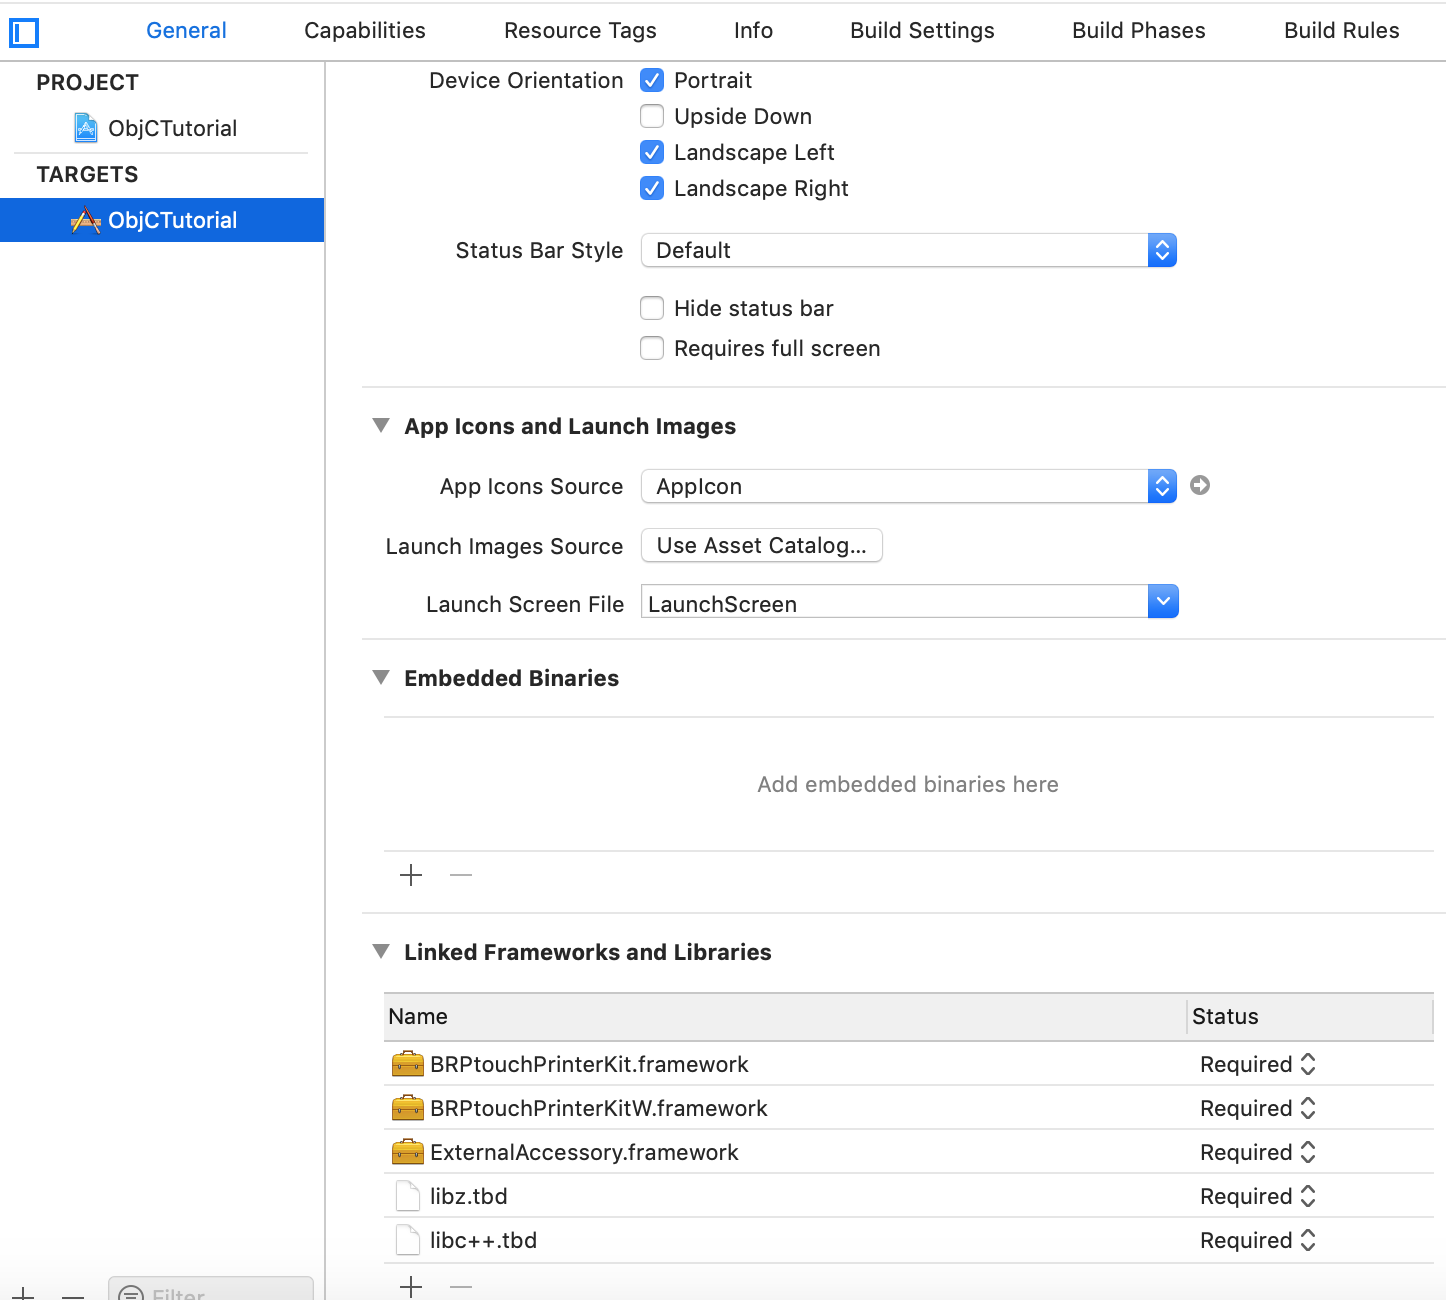
You’ll see in this screenshot we’ve added a few other frameworks which are required for the Brother printer SDK to function, you’ll need to check the documentation of the framework you are importing to see if there are any other required dependencies.
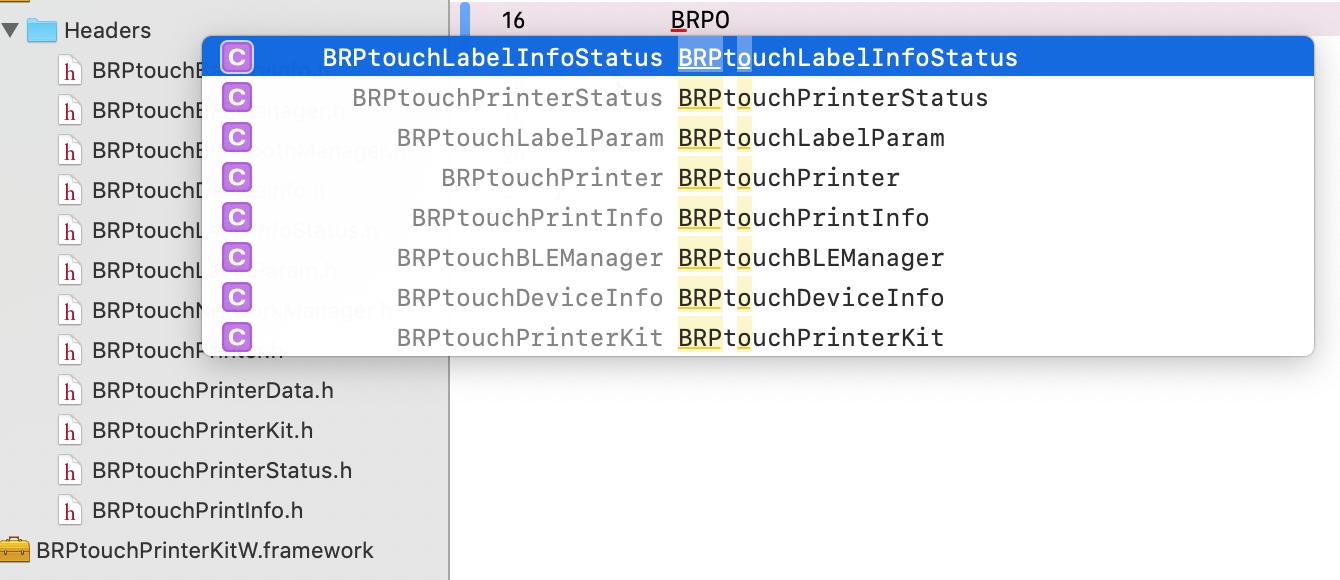
In the main project navigation you’ll see a Frameworks folder with your imported frameworks inside. Expanding these will show the available headers included in them.
Now we need to create a bridging header to allow the Objective C framework to be exposed to the Swift code. So press ⌘N to create a new file, and select Header File. Name it YourProjectName-Bridging-Header.h, so in our case, ObjCTutorial-Bridging-Header.h
Inside the bridging header file, you will see some #ifndef #define and #endif lines.
Between the #define and #endif lines we need to add import statements to import every header you want to access in your Swift project. So in our case it would be the following:
#ifndef ObjCTutorial_Bridging_Header_h
#define ObjCTutorial_Bridging_Header_h
#import <BRPtouchPrinterKit/BRPtouchBluetoothManager.h>
#import <BRPtouchPrinterKit/BRPtouchDeviceInfo.h>
#import <BRPtouchPrinterKit/BRPtouchNetworkManager.h>
#import <BRPtouchPrinterKit/BRPtouchPrinter.h>
#import <BRPtouchPrinterKit/BRPtouchPrinterData.h>
#import <BRPtouchPrinterKit/BRPtouchPrinterKit.h>
#import <BRPtouchPrinterKit/BRPtouchPrintInfo.h>
#import <BRPtouchPrinterKit/BRPtouchPrinterStatus.h>
#endif /* ObjCTutorial_Bridging_Header_h */
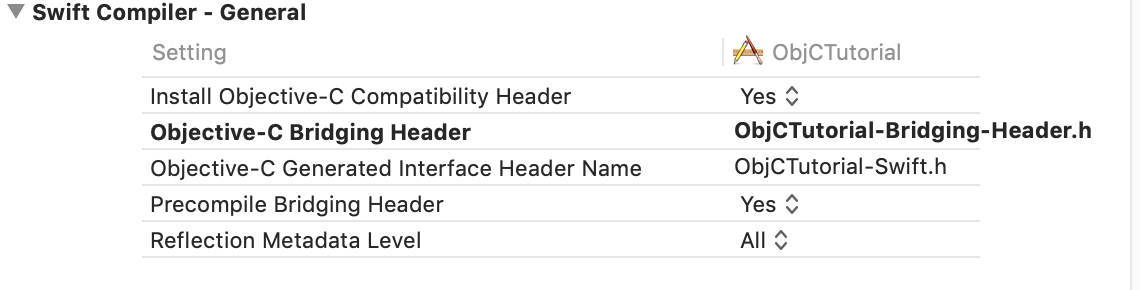
In Build Settings, in Swift Compiler — General, check your Objective-C Bridging Header is correctly referenced. You can use a relative path, so in our case it’s located at ObjCTutorial/ObjCTutorial-Bridging-Header.h.
Now build the project to make sure there are no errors.
To test the import and bridging header is functioning as expected and you can access the Objective-C code, start typing the name of one of your imported headers and check the code completion is working.
That’s pretty much it for importing and connecting Objective C frameworks. Your project may need further steps to get your frameworks functioning, in the case of the Brother SDK for example we need to make sure we have all the dependent frameworks linked, enable Wireless Accessory Configuration in the Capabilities tab in the project settings, and add com.brother.ptcbp in the “Supported external accessory protocols” entry in the project’s info.plist. The framework you import should come with documentation to explain any of these extra steps if they are required.
Conclusion
We hope this has been a useful article, please get in touch if we can help you with your iOS projects, whether it’s working on an existing project or creating your brand new app.